Disclosure: Some of the links below are affiliate links, meaning that at no additional cost to you, we will receive a commission if you click through and make a purchase. Read our full affiliate disclosure here.
Recording guitar on a PC has always been challenging. Whether you are a seasoned musician or a hobbyist looking to capture your creativity, the process is accessible and yields high-quality results.
Recording your guitar on a PC requires essential equipment, such as a reliable audio interface and sometimes additional gear like a preamp or a microphone. Direct guitar recording through an interface is straightforward. Employing a preamp can enhance your tone significantly. Recording with a traditional amplifier’s USB output or mic’ing the amp are time-honored techniques that still hold merit today.
In this article, you’ll learn about how to record guitar on pc, the different methods and tips for capturing your guitar’s sound with clarity and depth. You’ll discover how to integrate modern recording technology with traditional ways to find a sound representing your musical vision. By the end of our guide, you’ll have all the knowledge needed to start recording your guitar tracks on your PC.
KEY TAKEAWAYS:
- Recording guitar on a PC is approachable and produces professional results.
- Various equipment and techniques are available to achieve the desired guitar tone.
- Integrating modern and traditional recording methods allows for creative and high-quality guitar tracks.
Table Of Contents
1. Essential Gear For Recording Guitar On PC
2. Direct Guitar Recording With An Audio Interface
3. Using A Guitar Preamp For Enhanced Tone
4. Capturing Authentic Sound With Guitar Amplifier USB-Out
5. Traditional Mic’ing Of A Guitar Amplifier
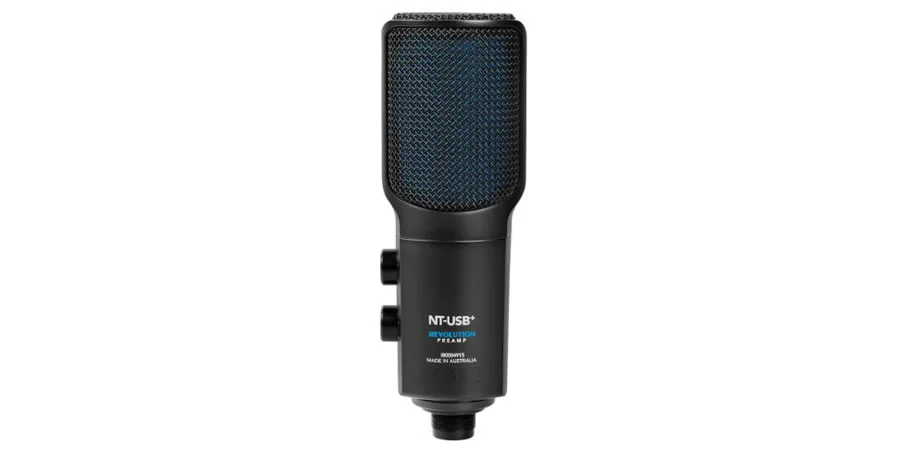
6. Simplify Guitar Recording With A USB Microphone
7. Modern Guitar Recording Technology: Virtual Amps And Effects
8. Guitar Recording Tips And Techniques
9. Editing And Mixing Your Guitar Tracks
10. Start Recording Guitar On PC
11. FAQ

1. Essential Gear For Recording Guitar On PC
Recording music at home has become increasingly accessible. To get started, you’ll need a few essential equipment to ensure your guitar recordings sound professional and genuine to your style.
Essential Equipment Needed To Record Guitar On PC
- Audio Interface:
A vital link between your guitar and PC, the audio interface transforms your guitar’s analog signal into a digital format that your computer can use. - DAW:
Short for Digital Audio Workstation, this software is your recording environment, where you’ll spend time crafting and refining your music. - Microphone (For Acoustic Guitars):
If you’re recording an acoustic guitar, a good microphone is crucial for capturing the natural sound of your instrument. - Instrument Cable Or USB Cable:
You’ll need the appropriate cable to connect your guitar, depending on whether your audio interface has an instrument input or a USB connection.
The Importance Of A Good-Quality Guitar
Investing in a good-quality guitar, whether it’s electric or acoustic, is essential. The quality of your instrument directly affects the tone and, ultimately, the quality of your recordings. A well-maintained guitar ensures you capture the best sound possible.
PC Specifications For Recording Guitar On PC
Your PC should have sufficient specifications to handle the demands of recording and processing audio. This includes:
- A fast processor and a good amount of RAM ensure smooth tracking and mixing.
- Enough storage space for your audio files and your DAW.
- A dedicated sound card will improve audio playback quality.
- USB or Thunderbolt ports are compatible with your audio interface.
2. Direct Guitar Recording With An Audio Interface
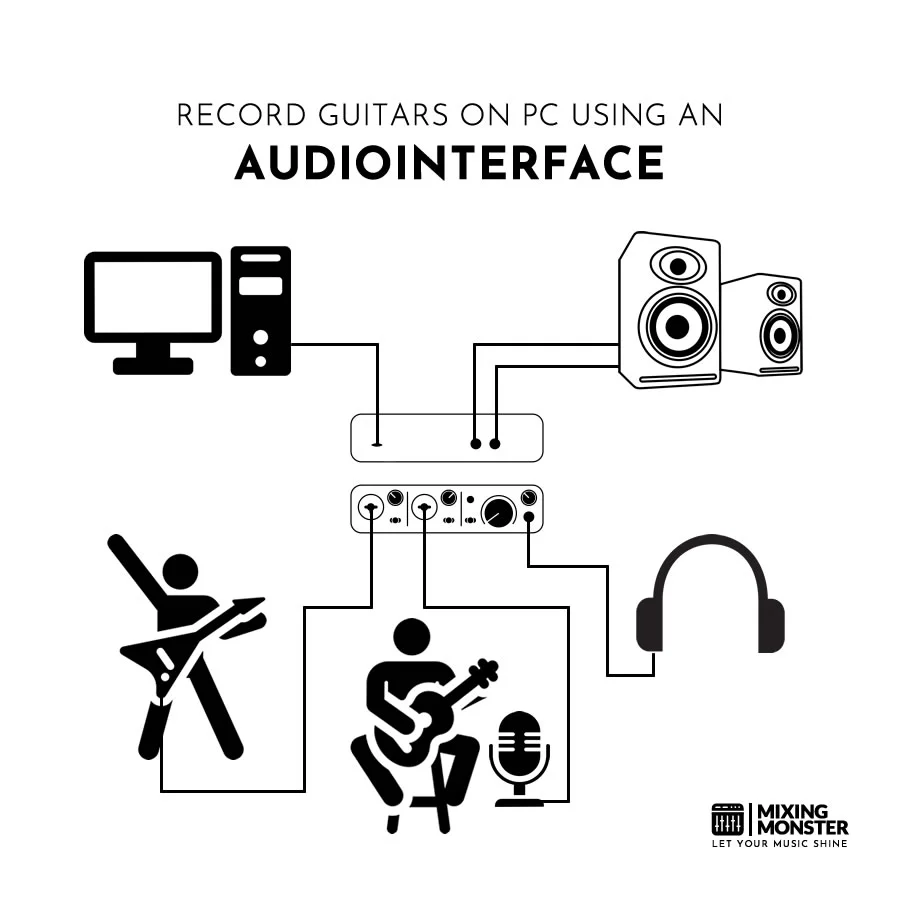
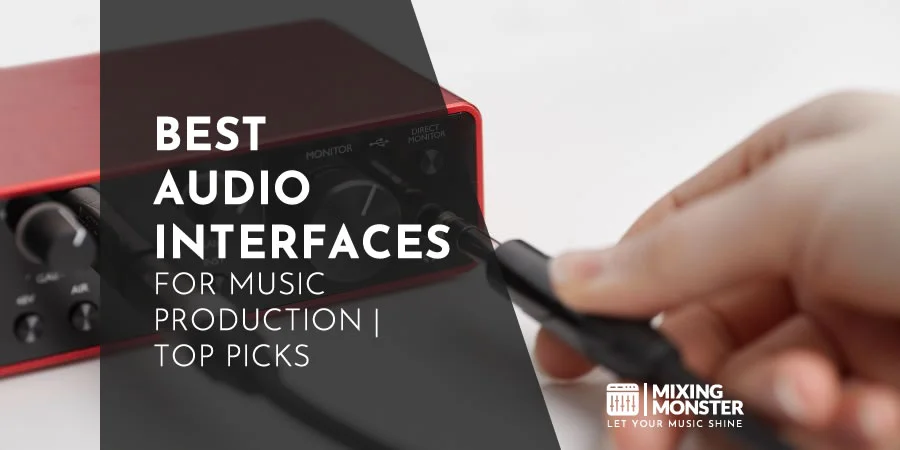
Recording your guitar directly to a PC with clarity and quality requires a reliable audio interface. The audio interface bridges your guitar and computer, enabling high-quality digital recordings.
Audio Interfaces And Their Role In Guitar Recording
Audio interfaces are essential for capturing the analog signals from your guitar and converting them to digital signals that your computer can process.
These devices connect to your PC via USB and often include preamps to boost the signal from your instrument. Additionally, a DI box may be used with an audio interface to balance the signal or directly connect instruments with high-impedance outputs, like electric guitars.
Step-By-Step Guide: Using An Audio Interface To Record Guitar
- Connection:
Plug your guitar into the audio interface using a standard instrument cable. Connect the audio interface to your PC via a USB port. - Setting Levels:
Power on your audio interface. Adjust the gain on the interface so that the signal peaks without clipping when you play loudly. - Monitoring:
Connect headphones or studio monitors to the audio interface to listen to what you’re playing in real-time. Check for latency, a delay between when you play a note and when you hear it. Adjust buffer settings if necessary. - Software Setup:
Open your computer’s Digital Audio Workstation (DAW). Create a new track, and select your audio interface as the input device. - Recording:
Arm the track for recording in your DAW, and when you’re ready, start recording. Play your guitar part, which will be captured directly into your DAW.
By following these steps, you can ensure that you record your guitar on your PC with the highest possible fidelity, ready for mixing and mastering.
3. Using A Guitar Preamp For Enhanced Tone
When you incorporate a guitar preamp into your recording setup, you’ll notice an immediate upgrade in tonal quality and the flexibility to shape your sound.
Guitar Preamps And Their Benefits For Recording
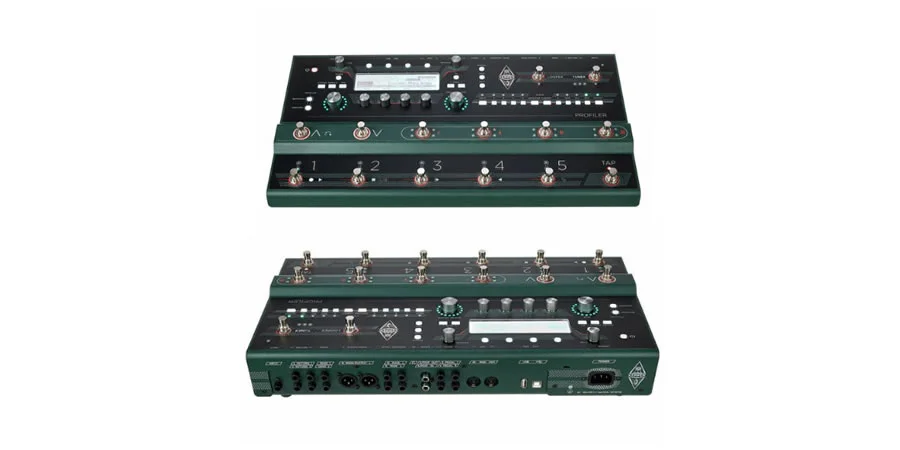
Guitar preamps are pivotal in capturing the essence of your guitar’s tone when recording on a PC. They bridge your instrument and your digital audio workstation (DAW), converting the guitar’s analog signal into a high-fidelity digital format.
The benefits of using a preamp include:
- Improved Sound Quality:
A preamp preserves the integrity of your guitar’s signal, delivering richer and more detailed tones. - Tonal Shaping:
With built-in effects and EQ settings, preamps allow for significant tonal adjustments before the signal reaches the DAW.
Instructions On Connecting A Guitar Preamp To A PC
To connect a guitar preamp to your PC, follow these specific instructions:
- Connect Your Guitar:
Plug your guitar into the preamp using a standard instrument cable. - USB Interface:
- If your preamp has a USB output, connect it directly to a USB port on your PC.
- For preamps without USB, connect the preamp’s output to a separate audio interface connected to your PC via USB.
- Install Drivers:
Some preamps or audio interfaces require drivers. Install them before proceeding. - Configure Your DAW:
- Open your DAW and create a new track.
- Set the input source to the preamp or audio interface.
These steps will optimize your recording rig for premium sound quality and functionality.
4. Capturing Authentic Sound With Guitar Amplifier USB-Out
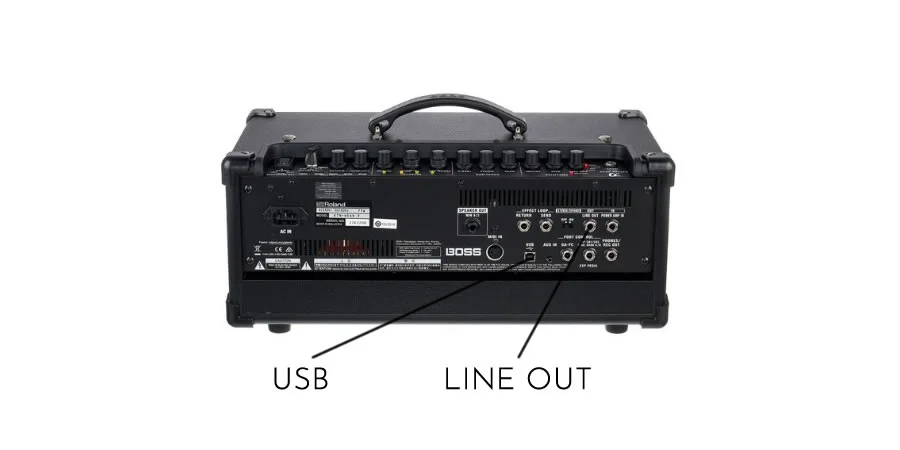
Many modern guitar amplifiers come equipped with a USB-Out feature, allowing you to capture the authentic sound of your amp directly on your computer. This direct method bypasses the need for microphones and can provide a clean, precise replication of your guitar’s tone.
Using A Guitar Amplifier With USB Output For Recording
When your amp has a built-in USB output, it serves as its audio interface. This convenient feature lets you record directly into your digital audio workstation (DAW) without needing additional hardware. It captures the exact sound of your amplifier’s preamp, including any onboard effects or unique tonal characteristics defined by your settings.
- Benefits:
- Direct recording with no need for microphones
- Often provides a dry signal perfect for applying effects in DAW
- Things To Consider:
- Ensure your amp’s firmware is up to date for optimal performance.
- Check if your recording software supports the amp’s USB audio drivers.
How To Connect And Record Using A Guitar Amplifier's USB-Out
Connecting your guitar amp with USB-Out to your computer is straightforward.
- Ensure Compatibility:
- Your operating system should recognize your guitar amplifier. Install any necessary drivers from the amp manufacturer’s website.
- Connect The USB Cable:
- Use a standard USB cable to connect the amp’s USB-Out to your computer’s USB port.
- DAW Setup:
- Open your DAW or recording software and create a new track.
- Set the amplifier as your input device within the software’s audio settings.
- Check Levels:
- Play your guitar to test and adjust input levels to avoid clipping.
- Start Recording:
- Arm the track for recording. Capture your performance as your computer directly converts the amp’s authentic tones into a digital format.
By following these steps, you leverage your amp’s built-in capabilities to produce high-quality recordings without requiring an external audio interface or dealing with microphone placement issues.

5. Traditional Mic'ing Of A Guitar Amplifier
Capturing the authentic sound of your guitar amplifier is both an art and a science. It requires selecting the right microphone and placing it effectively to represent your amp’s tone best.
The Classic Method: Recording By Mic'ing A Guitar Amplifier
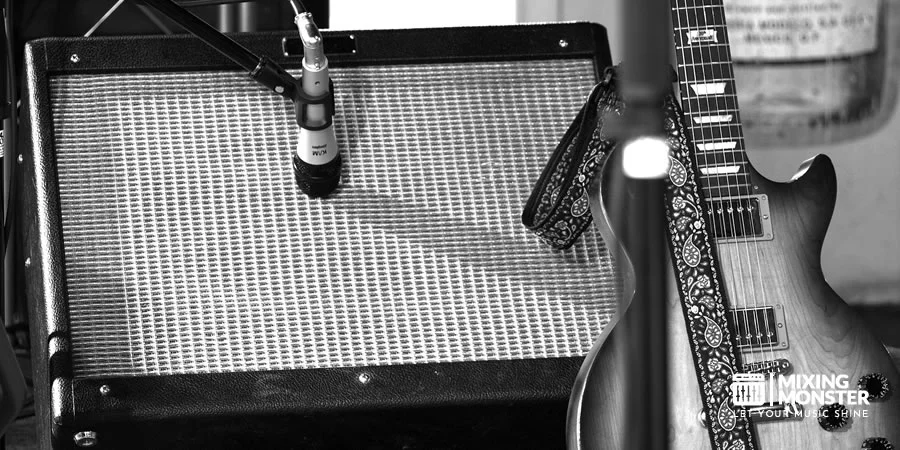
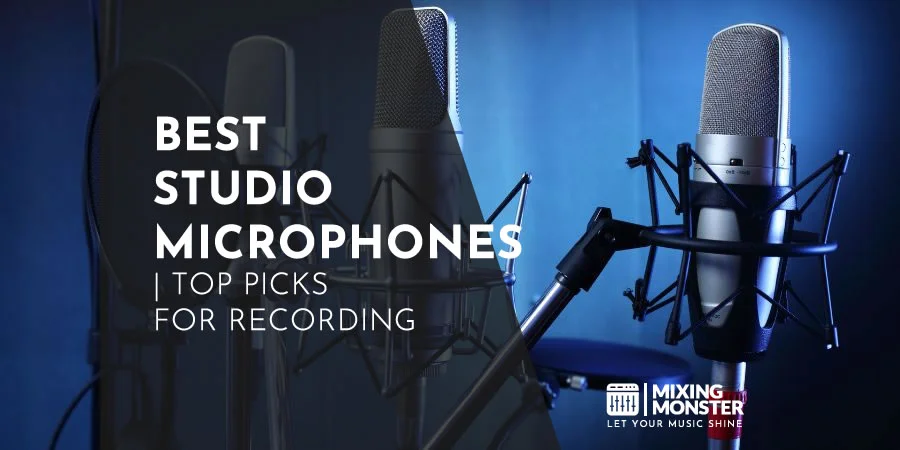
When you’re about to record your guitar with a traditional approach, the process involves positioning a microphone directly in front of the speaker cone of your amplifier. The most common types of microphones for this purpose are:
- Dynamic Mics:
Rugged and capable of handling high sound pressure levels, ideal for capturing the punch and presence of your amp. - Condenser Mics:
More sensitive and responsive, excellent for picking up the subtle nuances and broader frequency range of your guitar’s tone.
A mix of both types can yield a full and rich recording, capturing all dimensions of your guitar sound.
Tips On Microphone Selection And Placement For Guitar Recording
- Mic Type:
Choose between a dynamic or condenser mic depending on the desired sound. A dynamic mic provides a more aggressive sound, while a condenser mic offers a detailed and clear profile. - Placement:
- Proximity:
Positioning the mic close to the speaker gives you a more direct sound, while moving it away captures more ambient noise. - Angle:
Pointing the mic straight at the speaker cone produces a brighter tone, whereas angling it off-center produces a darker tone. - Distance:
Experiment with distance from the speaker—closer for a tight, focused sound or further away for natural room reverberation.
Remember that your guitar’s pickup also plays a crucial role, influencing the final sound captured by the microphone. Utilize this guide confidently to experiment and find the mic’ing technique that best captures the essence of your amp’s sound.
6. Simplify Guitar Recording With A USB Microphone
Using a USB microphone can significantly simplify the process of recording guitar on your computer. By eliminating the need for complicated setups, you can easily capture high-quality audio.
Using A USB Microphone For Recording Guitar
When you opt for a USB microphone, you choose simplicity and convenience for your home recording endeavors. You connect the microphone directly to your computer’s USB port, which is immediately recognized as an audio input device.
There’s no need for an external audio interface or additional drivers, making this a user-friendly option for novice and experienced guitarists.
- Steps For Recording:
- Plug the USB microphone into your computer.
- Position the microphone properly – for acoustic guitars, near the soundhole; for electric guitars, close to the amp speaker.
- Select the USB microphone as the input device in your recording software.
- Adjust the input gain to ensure clear sound without distortion.
- Hit record and start playing.
Choosing The Right USB Microphone For Recording Guitar
Sound quality and compatibility with your computer are paramount when selecting your USB microphone for guitar recording. Look for microphones with a wide frequency response to capture the nuances of your guitar accurately.
A cardioid pickup pattern is typically preferred as it focuses on the sound directly in front of the microphone and minimizes background noise.
- Features To Consider:
- Frequency response tailored for musical instruments.
- Cardioid pickup pattern.
- Zero-latency monitoring.
- Compatibility with your recording software.
Your choice will directly impact the quality of your home recordings, so invest in a microphone that suits your needs and enhances your guitar’s sound.
7. Modern Guitar Recording Technology: Virtual Amps And Effects
In the age of digital music production, virtual amp simulators and effects offer you an expansive palette of tones without ever needing physical equipment. These powerful tools have revolutionized how you can record guitar on a PC.
An Overview Of Virtual Guitar Amplifier Simulation Software
Virtual guitar amplifier simulation software and amp simulators have drastically changed guitar recording workflows. These plugins emulate the sound of classic and modern amplifiers with remarkable accuracy, allowing you to access a diverse range of tones within your Digital Audio Workstation (DAW).
Notable amp simulations like Guitar Rig 6 Player provide various amp models and effects in a single package. These tools also include cabinet emulations and microphone placement options, giving you full control over your guitar’s tone.
How To Integrate Virtual Amp Software Into The Recording Setup
Integrating virtual amp software into your recording setup is straightforward. Firstly, you need an audio interface to connect your guitar to your PC. Once the interface is connected, a simple setup in your DAW involves inserting an amp simulator plugin on the guitar track.
You can select different amp simulations and effects directly within the plugin from there. It’s important to ensure your system has low latency for real-time playing feel.
By leveraging these virtual instruments, you can access limitless creative possibilities without needing physical amp stacks or pedal boards. This modern technology simplifies the recording process and exponentially expands your sonic potential.
8. Guitar Recording Tips And Techniques
Recording guitar on a PC can be a rewarding experience when done correctly. By adhering to best practices and understanding how to capture the best sound quality while anticipating and avoiding common pitfalls, you’ll be well on your way to producing professional-level tracks from the comfort of your home.
Best Practices For Recording Guitar On A PC
To start your guitar recording setup on a PC, you’ll need a quality audio interface to convert the analog signals from your guitar into digital data.
Ensure that your computer meets the necessary performance requirements and is equipped with a Digital Audio Workstation (DAW) that is compatible with your hardware. It’s essential to check that all drivers are updated to minimize latency issues.
- Use Reliable Equipment:
Invest in high-quality cables and maintain your guitar to prevent unwanted noise. - Monitor Levels:
Monitor input levels to avoid clipping, which can distort your recording.
Achieving The Best Guitar Sound Quality
Sound quality is paramount; capturing the essence of your guitar’s tone starts with proper microphone placement. If using an acoustic guitar, experimenting with different room positions can enhance the natural resonance, while electric guitarists must focus on amp mic’ing techniques.
- Mic Choice:
A condenser microphone is typically more sensitive and suitable for detailed sound capture, while dynamics are more robust and better for louder sources. - Acoustic Treatment:
Consider the acoustics of your room; it can majorly affect recording quality. Simple treatments like rugs or foam panels improve the sound.
Avoiding Common Guitar Recording Mistakes
Common mistakes can hinder the recording process and affect the final sound. Awareness and preventive measures will keep your sessions running smoothly.
- Avoid Excessive Effects:
Apply effects sparingly; adding them during mixing rather than recording is better, giving you more control. - Check For Interference:
Ensure there are no grounding issues or electrical interference from other devices that can introduce noise into your recording.
By following these guidelines, you set the stage for a successful guitar recording session, laying down tracks that meet your expectations with clarity and definition.
9. Editing And Mixing Your Guitar Tracks
After recording your guitar on a PC, editing, and mixing are crucial steps to enhance the sound quality and ensure your track stands out. These processes allow you to craft the final sound of your music, adjusting various elements like timing, pitch, and dynamics.
Basic Editing And Mixing Techniques To Polish Recorded Guitar Tracks
Editing your guitar tracks primarily involves arranging your takes, cutting unnecessary parts, and aligning everything to the correct timing. It would be best if you started by:
- Trimming your recordings to remove excess noise from the beginning and end of each track.
- Using fade ins/outs to ensure smooth entrances and exits of guitar parts.
- Adjust your tracks’ timing to the beat if anything sounds out of sync.
Mixing involves balancing levels and applying effects to create a cohesive sound. Focus on:
- Setting levels appropriately ensures your guitar sits nicely in the mix without overpowering other instruments.
- Using equalization (EQ) to carve out a clear space for your guitar in the frequency spectrum.
- Apply compression subtly to control the dynamics of your guitar performance.
- If necessary, add reverb and delay effects to build depth and atmosphere in your tracks.
Software Recommendations For Guitar Post-Recording Production
Choosing the right Digital Audio Workstation (DAW) and plugins is crucial for editing and mixing guitar tracks. Some popular DAWs that are well-suited for guitarists include:
- Ableton Live:
Known for its intuitive interface and powerful live performance features. - GarageBand:
A great free option for macOS users, providing an ample range of tools for beginners. - Logic Pro:
Offers comprehensive and advanced features for professional-level production.
When it comes to plugins, there’s a plethora of options available ranging from EQ and compression to various modulation effects. Look for plugins that emulate classic guitar amps and effects pedals if you aim for a more authentic guitar tone. Remember, using plugins will significantly depend on the style of music and the sound you seek.
10. Start Recording Guitar On PC
You’ll need the equipment and software to capture high-quality audio to record your guitar on a PC. The process involves a few key steps and understanding the right tools to do the job effectively.
The key takeaway is: you require an audio interface to convert your guitar’s analog signal into a digital format your computer can process.
Equipment And Software For Recording Guitar On PC
You’ll need specific equipment and software to record an acoustic or electric guitar on your PC. Here’s an overview:
|
Equipment / Software |
Purpose |
Example Product |
|
Audio Interface |
Converts analog signals to digital |
Focusrite Scarlett 2i2 |
|
Microphone (For Acoustic) |
Captures acoustic guitar sound |
Shure SM57 |
|
Cables |
Connects guitar/microphone to interface |
XLR and 1/4” cables |
|
Recording Software |
Records and edits audio |
Audacity |
|
DAW |
Full music production suite |
Ableton Live, Pro Tools |
Choose the hardware and software that meet your level of expertise and production needs. With these tools, you can start recording guitar on your PC!
Happy guitar recording!
11. FAQ
1) What is the best software for recording guitar on a PC?
A Digital Audio Workstation (DAW) is crucial for recording guitar on a PC. The most suitable DAW depends on your requirements; however, programs like Ableton Live, Pro Tools, and Reaper are widely acclaimed for their advanced features and reliability.
2) Can you recommend a good guitar-to-computer interface for home recording?
A quality guitar-to-computer interface transforms your guitar’s analog signal into a clear digital format. The Focusrite Scarlett range is highly recommended for its balance of quality and affordability, ideal for home recording setups.
3) Is it possible to record guitar on a PC without a specialized interface?
You can use a simple guitar-to-USB cable to record the guitar on a PC without an interface. However, this might provide a different audio fidelity than a dedicated interface. Software like Amplitube can also emulate the necessary amplification and effects.
4) How can I use a USB to record my electric guitar on my PC?
You’ll need a guitar-to-USB adapter cable to record your electric guitar using a USB connection. Connect the cable from your guitar directly to your PC, select it as an input source in your DAW, and you can start recording.
5) What are the steps to record a guitar on a PC using an amplifier?
Recording with an amplifier entails miking your amp and connecting the microphone to your PC through an interface. Place the microphone close to the speaker, select the microphone as the input in your DAW, and adjust the levels to record your guitar’s amplified sound.
6) What methods work best for recording an acoustic guitar on a computer?
You can use a microphone near the soundhole or at the 12th fret for a balanced sound to record an acoustic guitar. Alternatively, use an acoustic guitar with a built-in pickup or a clip-on microphone, running it through an interface to your computer.

