Home > Blog > Mixing > Mixing Techniques

Disclosure: Some of the links below are affiliate links, meaning that at no additional cost to you, we will receive a commission if you click through and make a purchase. Read our full affiliate disclosure here.
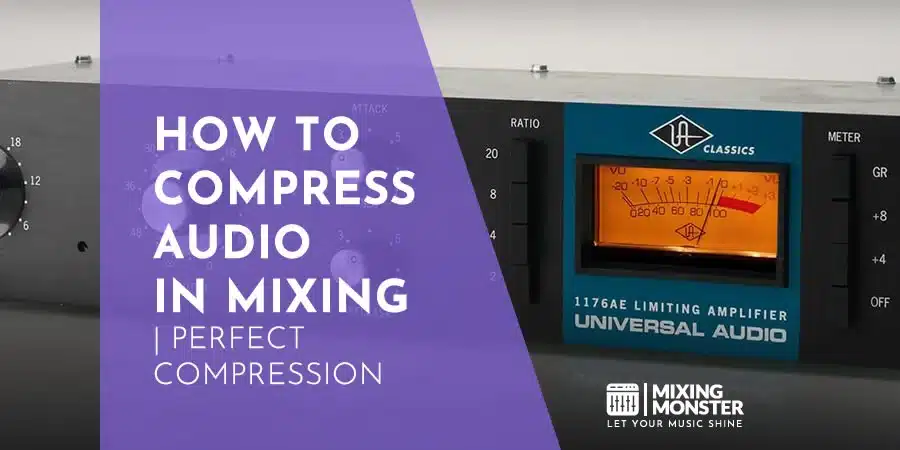
Audio compression is a tool that can make or break your music production game. It shapes the dynamics, tames wild volume swings, and sometimes adds that extra bit of character your tracks are missing.
Audio compression shrinks the dynamic range of an audio signal, so the loud bits get a little quieter, and the quiet parts come up. A compressor kicks in when the signal crosses a certain threshold, and how much it turns things down depends on the ratio. Attack and release times control how fast the compressor grabs (or lets go of) the signal. Other tweaks, like knee and makeup gain, also help control the sound.
Producers use compression to achieve consistent levels, punch, and sustain, and to shape the tone of an instrument or a whole mix. Suddenly, your tracks sound polished, professional, and just… better.
Understanding how to apply compression to different sounds means boosting clarity, adding energy, and achieving that elusive balance in your mixes. Audio compression is a must-have skill for any producer or engineer serious about their craft.
KEY TAKEAWAYS:
- Audio compression brings down the dynamic range to balance levels and adds flavor to sounds
- Critical controls like threshold, ratio, attack, and release shape how compression feels
- Good compression work gives you clarity, energy, and that pro-level finish in your mixes
Table Of Contents
1. What Is Audio Compression In Music Production?
2. Understanding The Key Parameters Of Audio Compression
3. Types Of Audio Compressors And Their Unique Characteristics
4. Advanced Compression Techniques For Professional Sound
5. Applying Compression To Different Instruments And Sound Sources
6. Common Compression Mistakes And How To Avoid Them
7. Hardware vs. Software Compressors
8. Key Takeaways For Mastering Audio Compression In Music Production
FAQ

1. What Is Audio Compression In Music Production?
Audio compression is a go-to tool in music production for shaping sound, controlling dynamics, and manipulating perceived loudness. It lets producers and engineers manipulate the dynamic range of audio, essential for balanced, polished recordings that don’t sound amateurish.

Definition And Basic Principles Of Audio Compression
Audio compression reduces the dynamic range by knocking down louder sounds and nudging up the quiet ones. A compressor keeps an eye on the input, and once things get loud enough to pass a set threshold, it starts pulling them back. Here are the main controls you’ll run into:
- Threshold: When compression starts happening
- Ratio: How hard the compressor pushes back
- Attack: How quickly the compression kicks in
- Release: How long before it lets go
With these, you can shape the feel of your audio. Depending on what you’re after, compression can be so subtle you barely notice it or in-your-face.

The Role Of Compression In Shaping Sound
Compression is huge for sculpting the character and texture of sounds. You can:
- Give drums more punch and presence
- Smooth out vocals that are all over the place
- Add sustain to guitars and other stuff
- Glue a whole mix together
By tweaking attack and release, you can change how the transients hit, which affects the energy and impact. Some compressors even add their color or vibe—sometimes, that’s precisely what you want.
How Compression Affects Dynamics And Perceived Loudness
Compression directly impacts the dynamic range, which affects how loud something feels. By squashing the gap between the loudest and quietest parts, you can make the audio seem louder overall, even if you’re not pushing the peaks any higher.
This gives you things like:
- More even levels across a song
- Better clarity in busy mixes
- Quieter details don’t get lost
If you’re careful, you can boost the average level without making things distorted. But push it too far, and you’ll lose that musical feel and dynamic contrast. Striking the right balance separates an amateur mix from a pro one.

2. Understanding The Key Parameters Of Audio Compression
Audio compression has a handful of core controls that shape its operation. Knowing these lets you be precise about dynamic range control and signal shaping.
Threshold: Setting The Activation Point
The threshold is the “gatekeeper” for compression. Once your audio goes above this level, the compressor wakes up. Anything above gets squished; everything below is left alone.
Drop the threshold lower, and you’ll compress more of the signal—great for taming wild peaks. Raise it, and only the loudest spikes get hit. Engineers usually fiddle with this to find the spot between control and keeping things natural.
Ratio: Controlling The Amount Of Compression
The ratio tells you how hard the compressor works once the signal crosses the threshold. It’s always written as input to output.
Say you have a 4:1 ratio: for every 4 dB, the input goes over the threshold, and only 1 dB comes out the other side. Crank the ratio higher, and the compression gets more obvious.
Lower ratios (like 2:1 or 3:1) are for gentle smoothing. Go up to 8:1 or more, and you’ll be in heavy compression territory. Pick your ratio based on what you’re working on—vocals might want something moderate, but drums often need more grip.
Attack And Release: Shaping The Compressor's Response Time
Attack and release are all about timing. Attack sets how fast the compressor clamps down after the threshold is crossed.
Short attack? You’ll catch those transients right away, but lose some punch. A longer attack lets the initial hit through, which can sound more lively.
The release is how fast the compressor lets go after the signal drops back down. A quick release feels snappy, while a longer release smooths things out—but if it’s too long, you might get that weird pumping effect. Getting these right is a bit of an art, honestly.
Knee: Softening Or Hardening The Compression Curve
The knee sets how gently or abruptly the compressor reacts around the threshold. You’ll hear about “hard” and “soft” knees.
Hard knee? It’s like flipping a switch—full compression kicks in as soon as you cross the line. Soft knee eases into it, which is usually smoother and less noticeable.
Many compressors let you pick how soft you want the knee to be. Softer knees are great for vocals or whole mixes if you want things to sound natural. But sometimes, a hard knee is perfect for a more aggressive effect.

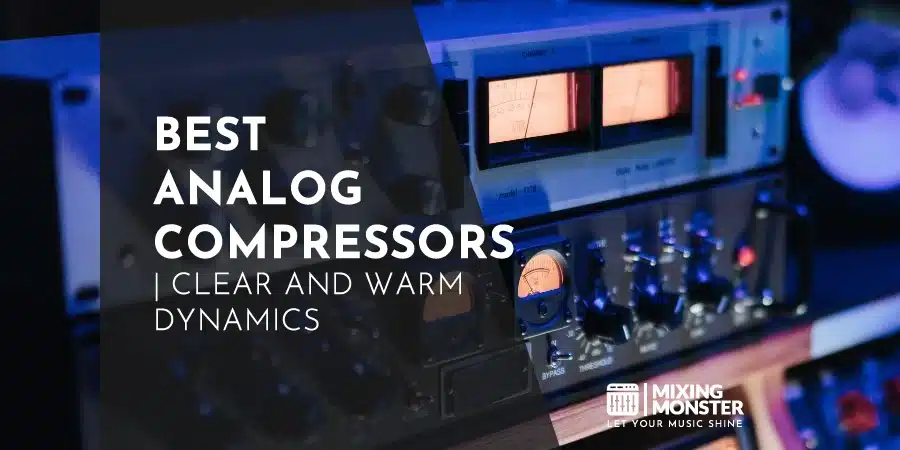
3. Types Of Audio Compressors And Their Unique Characteristics
Compressors come in several flavors, each with its quirks. The main types—VCA, FET, optical, and variable-mu—bring something different. Knowing what they do helps you pick the right tool for the job.
VCA (Voltage Controlled Amplifier) Compressors
VCA compressors are the go-to for clean, transparent compression. They’re precise and don’t add much color so you can use them anywhere.
They shine when you need:
- Fast attack and release
- Clarity in busy mixes
- Dynamic control across groups of tracks
You’ll see VCA compressors on drum buses, vocals, and whole mixes. These are a solid bet if you want tight, exact control without extra warmth. Think SSL G-Series Bus Compressor or API 2500—classics for a reason.
FET (Field Effect Transistor) Compressors
FET compressors are solid-state, but they mimic the warmth of old tube units. They’re super fast and can add a bit of grit or character.
What makes FET compressors stand out?
- Lightning-fast transient response
- Some subtle harmonic distortion
- A touch of attitude or “grit” in the sound
They’re fantastic on drums, bass, and vocals—anything that needs extra punch. The UREI/Universal Audio 1176 is the gold standard here, and people love it for its vibe and versatility.
Optical Compressors
Optical compressors use a light cell and panel to control gain. That sounds fancy, but the result is smooth, gentle compression with a natural attack and release that feels musical.
Here’s what you get with optical compressors:
- Smooth, gradual compression
- Very forgiving on tricky material
- A “musical” or “organic” sound
These are perfect for bass, vocals, or complete mixes when you want things to sit just right without sounding squashed. The LA-2A is the classic—people swear by its warmth and simplicity.
Variable-Mu (Tube) Compressors
Variable-mu (or tube) compressors use vacuum tubes, which are loved for their warmth and ability to glue things together.
Some standout features:
- Soft-knee compression (super gentle)
- Gradual, musical onset
- They add lovely harmonic richness
These are often on complete mixes, bass, and vocals—especially in mastering, where you want that final bit of polish. The Teletronix/Universal Audio LA-2A and Fairchild 660/670 are legendary in this space.

4. Advanced Compression Techniques For Professional Sound
Once you’re comfortable with the basics, compression can get pretty creative. Advanced techniques can push your mixes into the pro territory and give you more control over the vibe.
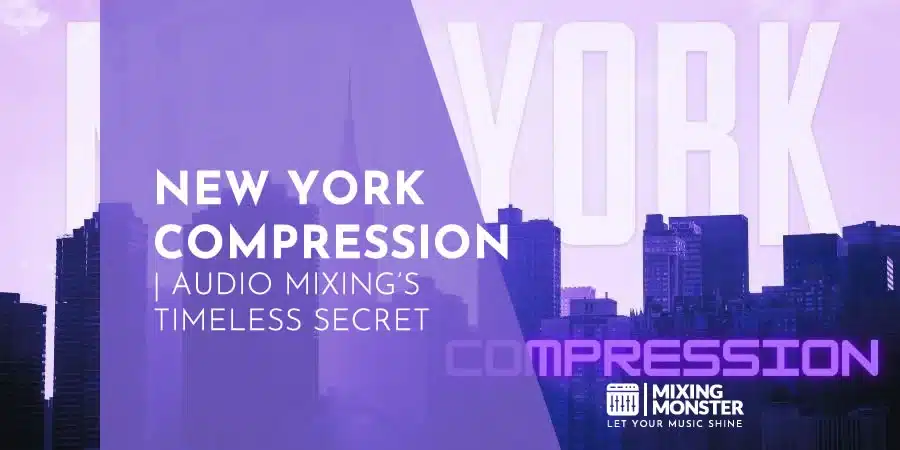
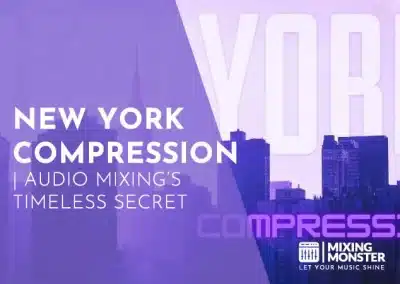
Parallel Compression: Blending Compressed And Uncompressed Signals
Parallel compression (New York compression) involves mixing a heavily compressed version of your audio with the original, untouched track. It’s a great way to beef things up, add punch, and keep the natural feel.
Here’s how you do it:
- Duplicate your audio track
- Squash the duplicate with heavy compression
- Blend it back in with the original
How much you mix in is up to you—a 50/50 split is a solid place to start, but tweak it until it feels right for each sound.
Parallel compression is killer on drums, vocals, or even across the whole mix. It adds thickness and sustain without sacrificing punch or clarity. Give it a try—you might be surprised how much it livens things up.
Multiband Compression: Targeting Specific Frequency Ranges
Multiband compression chops the audio spectrum into separate frequency bands, letting you compress each range on its terms. It’s handy for getting into the weeds with dynamics control across the whole frequency range.
Why bother with multiband compression?
Well, here’s what it’s good for:
- Taming those pesky problem frequencies that always seem to poke out
- Bringing out clarity in busy, crowded mixes
- Balancing tonal elements—without just flattening the whole signal
Most multiband compressors split things into 3 or 4 bands, like so:
| Band | Frequency Range |
|---|---|
| Low | 20 Hz – 200 Hz |
| Low-Mid | 200 Hz – 2 kHz |
| High-Mid | 2 kHz – 8 kHz |
| High | 8 kHz – 20 kHz |
You can tweak each band’s threshold, ratio, attack, and release separately. It’s usually best to start gently and dial things in from there—there’s no need to get heavy-handed immediately.

Sidechain Compression: Creating Space And Groove In Your Mix
If you haven’t played with sidechain compression yet, it ducks one signal based on another. It’s a favorite trick to get that pumping, rhythmic feel or ensure the important stuff comes through loud and clear.
Some classic uses for sidechain compression:
- Letting the kick drum punch through by ducking the bass
- Getting that pulsing synth vibe in electronic tracks
- Dipping background music so voiceovers are front and center
Setting up sidechain compression isn’t rocket science:
- Throw a compressor on the track you want to duck
- Set the sidechain input to whatever’s supposed to trigger it
- Tweak threshold, ratio, attack, and release until it feels right
The attack and release shape the “pump,” so don’t be afraid to play around until you like what you hear.

Upward Compression: Boosting Quieter Parts Without Affecting Louder Ones
Upward compression is a bit of a sleeper hit—it lifts the quiet stuff below the threshold, leaving the loud bits alone. This is your friend if you want to add depth and detail to softer passages without squashing the life out of your track.
Why use upward compression?
- It brings out those hidden, low-level details in a mix
- Adds sustain to things like guitar or piano (always nice)
- Balances vocals without turning them into a flat, over-compressed mess
You won’t find upward compression on much vintage hardware, but loads of plugins do it. Try a low ratio (like 1.5:1 or 2:1) and set the threshold so you’re just catching the quiet bits.
Less is more here—keep it subtle if you want things to sound natural. It also pairs nicely with parallel compression if you need more control.

5. Applying Compression To Different Instruments And Sound Sources
Compression can work wonders on various instruments and sound sources, helping with mix clarity and glue. The trick is knowing what compression does to each element and tweaking your settings to fit.
Compressing Vocals For Clarity And Consistency
Vocals are almost always better with some compression—it keeps the volume steady and helps the words come through. A moderate ratio (2:1 to 4:1) is a good starting point. Set your threshold to grab the loud syllables, but don’t squash the softer ones into oblivion.
Try a fast attack (maybe 5-10ms) to catch those sudden peaks and a medium release (50-100ms), so the compressor doesn’t clamp down forever. That way, vocals stay in the mix but don’t lose their natural feel.
If you’re working with aggressive vocals, you can crank the ratio up to 8:1—but be careful. Too much, and you’ll end up with a lifeless vocal. Parallel compression is a nice workaround for adding thickness without killing the dynamics.

Tightening Up Bass And Kick Drum With Compression
Bass and kick almost always benefit from compression, making the low end tighter and more controlled. Use a slower attack (20-30ms), so the initial hit keeps its punch.
A quick release (50-100ms) helps the compressor reset before the following note or hit. Ratios around 4:1 to 6:1 usually do the trick. Set the threshold so you’re mainly catching the core of the sound, not just the quiet tails.
If you want things to hit harder, try parallel compression on drums. It can add beef and sustain while letting the original transients shine through. Blend in the compressed signal until it feels right—there’s no magic number.
Using Compression On Guitars And Synths
Compression on guitars and synths can help even out the dynamics and add some sustain. A medium attack (10-20ms) and release (50-100ms) with a 3:1 ratio feels solid for rhythm guitar.
This gives you a more consistent rhythm track. For leads—guitar or synth—try a faster attack (5-10ms) and more extended-release (100-200ms) to stretch the sustain and help the part cut through.
Watch out for over-compression, though. Too much compression can cause the instrument to lose its vibe. Start with a light touch and ease up the compression only as much as necessary.
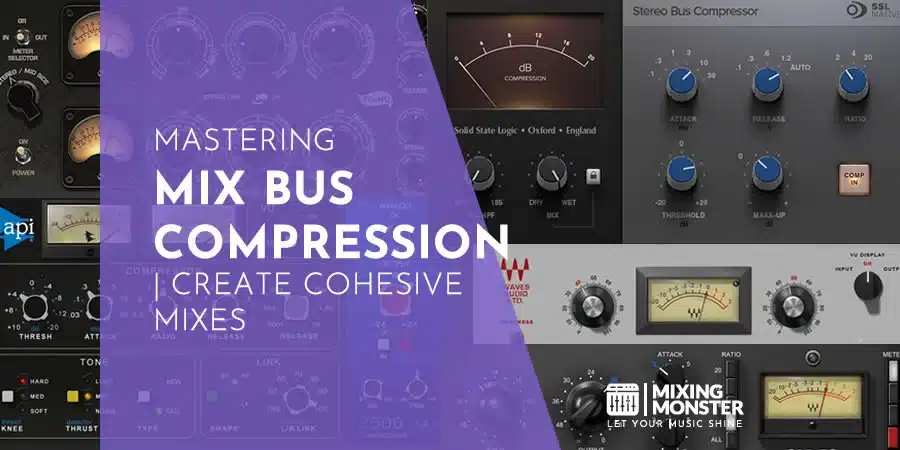
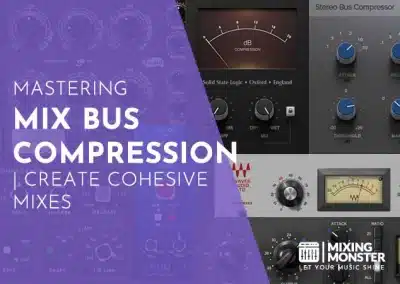
Gluing A Mix Together With Bus Compression
Bus compression is all about gluing things together. You’re not trying to squash the whole mix—you’re just bringing things a bit closer. Use a gentle ratio (1.5:1 to 2:1) and a high threshold so you’re only shaving off a little.
Shoot for maybe 1-2 dB of gain reduction, tops. Slow attack (30-50ms) and medium release (100-200ms) usually work for most styles. It’s subtle, but it helps everything sit together.
Tweak the attack and release it to taste. Faster times can add excitement; slower ones smooth things out. Try stuff out—there’s no single answer for every mix.
6. Common Compression Mistakes And How To Avoid Them
Compression can make a mix shine—or ruin it. Knowing what not to do is half the battle. Some caution and some context go a long way toward getting pro results.
Over-Compression: Squashing The Life Out Of Your Music
It’s too easy to overcompress and end up with a flat, tired-sounding track. If your threshold is too low or your ratio too high, you’ll suck all the energy out of the music. The best move? Start gently, and only add more compression if you need it.
As a rule, aim for 2-3 dB of gain reduction most of the time. That keeps things lively while still giving you some control.
Attack and release matter a lot, too. Go too fast on the attack, losing your transients—especially on drums and percussion. Slower attacks usually keep things punchy and natural.

Neglecting Proper Gain Staging
Good gain staging is the unsung hero of compression. If your input levels are off, things can get messy fast. Before you even touch a compressor, ensure your signal hits it sensibly.
Try to keep your inputs around -18 dBFS—there is plenty of headroom, and it helps compressors behave. If you need to catch stray peaks after compressing, a limiter can help without messing up your overall levels.
And don’t forget about makeup gain. Too much, and you’ll get distorted or end up way too loud in the mix. Subtle is better.
Ignoring The Context Of The Mix
Always, always make compression decisions in the context of the whole mix. Soloing tracks is fine for troubleshooting, but you’ll often end up with settings that don’t work when everything’s playing together.
Think about how compressed parts interact. For example, squashing the bass in a solo might sound awesome, but once it’s all in, it could easily drown out the kick or other low-end stuff.
Multiband compression is powerful, but don’t overdo it. If you’re not careful, it can cause phase weirdness or artifacts. Save it for specific problems, not as your default move.
Relying Too Heavily On Presets
Presets can help you start, but relying too much on them produces bland, mismatched results. Every track is different and needs its own compression settings.
Use presets as a jumping-off point, then tweak everything to fit the track, the vibe, and what you want the listener to feel.
Trying out different compressor types is worth it, too. A VCA compressor may be perfect for drums, but an optical one sounds better on vocals. Don’t be afraid to experiment a bit.
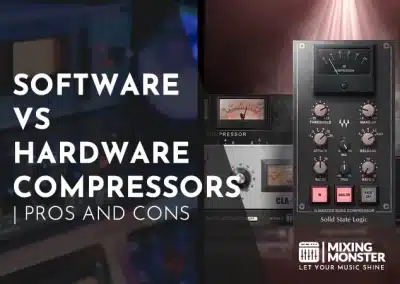
7. Hardware vs. Software Compressors
Compression tech has come a long way, and you have options—hardware or software. Both have perks, whether it’s the sound, the workflow, or the price tag.

The Analog Warmth Of Hardware Compressors
Hardware compressors are loved for their special sonic vibe. There’s just something about that “analog warmth”—the circuits, the old-school components, the harmonics they add.
Lots of engineers swear by the physical feel of real knobs and switches. Sometimes, that hands-on approach leads to better, more instinctive decisions. Plus, the hardware has zero latency, a big deal for tracking or live gigs.
Top-shelf hardware compressors are built to last and sound fantastic. Of course, they’re pricey and not nearly as flexible as plugins, but it can be worth it if you’re after that particular sound.
The Flexibility And Affordability Of Software Plugins
Software compressors offer convenience and flexibility. Plugins drop right into your DAW, and you can recall settings quickly.
Many emulate legendary hardware, so you can taste those classic tones without blowing your budget. It’s also easy to try different styles and see what best fits your track.
Software is usually way more affordable, so you can still get pro-level compression even if you’re on a shoestring.
Plus, plugins receive regular updates—bug fixes, new features, and better algorithms. You’re always a download away from the latest and greatest.

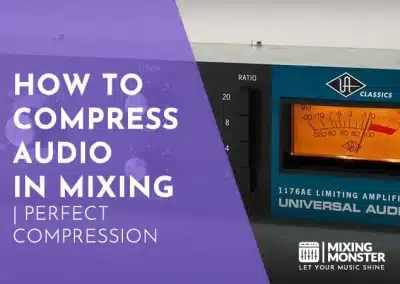
Top Hardware And Software Compressors For Different Budgets
The Empirical Labs Distressor is a studio legend if you have the cash. It’s super versatile and found in tons of pro setups.
For something more mid-range, the Universal Audio 1176 (and its many plugin clones) is a go-to for fast, punchy FET compression. The “all buttons in” mode is a classic for a reason.
On a budget? Check out plugins like Waves CLA-2A or FabFilter Pro-C 2. They sound great and won’t break the bank.
And if you’re looking for something free, Kotelnikov by Tokyo Dawn Labs is surprisingly powerful, especially for mastering or bus compression. It’s not bad at all for zero dollars.
8. Key Takeaways For Mastering Audio Compression In Music Production
Getting the hang of audio compression is one of the most important steps for that polished, “finished” sound. The mastering process involves tweaking a handful of key settings—sometimes, it feels like a balancing act.
Threshold and ratio are your bread and butter here. Most folks stick with a mastering ratio between 1.2:1 and 2:1. It’s subtle enough to glue things together without flattening the life out of your track.
Attack and release times shape the vibe. A fast attack can smooth out those pesky transients, but if you want things to breathe, a slower release can keep it sounding natural and open.

Don’t go overboard with gain reduction. Keeping it around 2-3 dB is usually the sweet spot for mastering. Too much, and you risk squashing all the energy out of your mix, which… nobody wants.
Choosing the right compressor matters more than you think. Opto compressors are a go-to for many mastering engineers—they have a smooth, musical feel that sits nicely in a finished track.
Oh, and don’t forget about genre. What works for a punchy rock song won’t always fit a gentle acoustic track. Every style calls for its approach, so there’s no one-size-fits-all here.
When you nail compression in mastering, you get more clarity, punch, and satisfying consistency across your album or EP. It ties everything together and makes the whole thing feel like a complete experience.
Happy compressing!

FAQ
1) What are the different audio compression techniques used in sound engineering?
Engineers have a few tricks up their sleeves when it comes to compression. Dynamic compression is the classic move—pulling down the loud stuff or bringing up the quiet bits. Multiband compression is a little fancier, letting you compress only specific frequencies (which can be a lifesaver for tricky mixes).
Parallel compression? That’s where you blend a squashed signal with the original to keep the punch. And then there’s limiting, which is compression dialed up to 11 to ensure nothing crosses a set ceiling.
2) How can audio compression affect the quality of the human voice?
Compression can change how vocals sit in a mix. Used well, it brings out the details and makes the voice feel present and upfront—like the singer’s right there with you.
But go too far, and things can get weirdly flat or lifeless. The key is to add enough warmth and consistency so the vocals sit in the pocket without sounding unnatural.
3) What is considered the industry standard for audio compression?
No single “official” standard exists, but a few compressors are everywhere. The LA-2A and 1176 are legendary hardware units everyone seems to emulate in plugins.
Most DAWs have built-in compressors that do the job, but many pros use third-party plugins—Waves, FabFilter, Universal Audio, etc. It’s a bit of a personal preference game, honestly.
4) Which audio compression software is recommended for professional use?
When it comes to pro compression, you’ve got options. The stock compressors in Pro Tools are a staple for many, but third-party plugins are everywhere in major studios.
FabFilter Pro-C 2 is a big favorite for its flexibility. UAD’s classic hardware emulations are also super popular if you’re after that vintage vibe.
5) How should one adjust audio compression settings for optimal sound output?
Start with a moderate ratio—maybe 2:1 to 4:1—and set your threshold so you’re just catching the peaks. Let some transients through with a snappy attack for punch, and tweak the release to match your track’s groove.
Remember to use makeup gain to bring the level back up. Above all, trust your ears. Flip between compressed and dry signals, and don’t be afraid to tweak until it feels right. There’s no magic formula—it’s all about what sounds good to you.
6) What are common audio compression ratios and their respective uses?
If you go with a 2:1 ratio, you’re looking at pretty gentle compression—just enough for some subtle control over the dynamics. It’s not going to squash things; it’s just going to smooth them out a bit. Once you bump it up to around 4:1 or 6:1, folks usually start to notice the compression, especially on vocals or instruments. It’s a popular spot for taming peaks without killing the vibe.
Now, 8:1 and up? That’s where things get aggressive. You’ll often hear that on drums or when you need something tight. And if you’re pushing 10:1 or even higher, you’re limiting at that point—great for keeping things from clipping digitally, though it can sound a bit heavy-handed if you’re not careful.
Related Articles


Featured


You Might Also Be Interested In