Audio mastering is the process of preparing a final mix for distribution or release. Basic audio mastering techniques involve a set of tools used to enhance the overall sound quality of a recording, making it sound better on a variety of playback systems.
Basic audio mastering techniques are a set of processes used to optimize and finalize the overall sound quality of an audio track. These techniques include equalization, compression, stereo imaging, limiting and loudness normalization. Mastering engineers use their expertise to apply these techniques in a way that enhances the clarity, balance and dynamics of a mix.
Let’s take a look at fundamental processes that mastering engineers use to improve the quality of a recording. By applying these techniques appropriately, a mastering engineer can make a recording sound more polished, cohesive, and professional.
Table Of Contents
1. What Are Basic Audio Mastering Techniques?
2. Equalization (EQ) In Audio Mastering
3. Compression In Audio Mastering
4. Stereo Imaging In Audio Mastering
5. Limiting In Audio Mastering
6. Loudness Normalization In Audio Mastering
7. What Is A Good Audio Mastering Workflow?
8. How To Get Started In Audio Mastering

1. What Are Basic Audio Mastering Techniques?
Basic audio mastering techniques are a set of processes used to improve the sound quality of a final mix and prepare it for distribution or release. These techniques are aimed at enhancing the overall clarity, balance, and dynamics of a recording, while ensuring that it meets technical specifications for the intended medium.
The main difference between audio processing in mixing and mastering is the stage of the production process at which the processing takes place.
Mixing is the process of combining individual tracks into a stereo mix, while mastering is the final stage where the overall sound of the mix is enhanced and optimized for distribution or release.
Even though there are lot more processing options for a mastering engineer, the foundation of the mastering process consists of equalization, compression and limiting. These techniques are also used during the mixing process, however, they are used in different ways in audio mastering.
Some of the most commonly used basic audio mastering techniques include:
Basic Audio Mastering Techniques:
- Equalization (EQ)
- Compression
- Stereo Imaging
- Limiting
- Loudness Normalization
These basic audio mastering techniques can be used individually or in combination to achieve the desired sound for a recording.
A skilled mastering engineer will use these basic techniques in conjunction with more advanced processing options when needed to create a final product that is polished, cohesive, and professional-sounding.
Let’s discuss each basic audio mastering technique separately before wrapping things up with a basic mastering workflow.
2. Equalization (EQ) In Audio Mastering
Equalization, or EQ, is a process used in audio mastering to adjust the frequency spectrum of a recording in order to improve the tonal balance and remove unwanted frequency content.
EQ is one of the most important and commonly used tools in audio mastering, and can be used to shape the overall sound of a mix in a variety of ways.
During equalization, the mastering engineer uses a set of filters to adjust the levels of specific frequency ranges in the audio. These filters can be either cut filters, which reduce the level of a specific frequency range, or boost filters, which increase the level of a specific frequency range.
EQ can be used to enhance the clarity and definition of a song, balance the overall tonal balance of the mix, and remove unwanted resonances or frequency buildup. This is especially important when applying limiting at later stages in the mastering process.
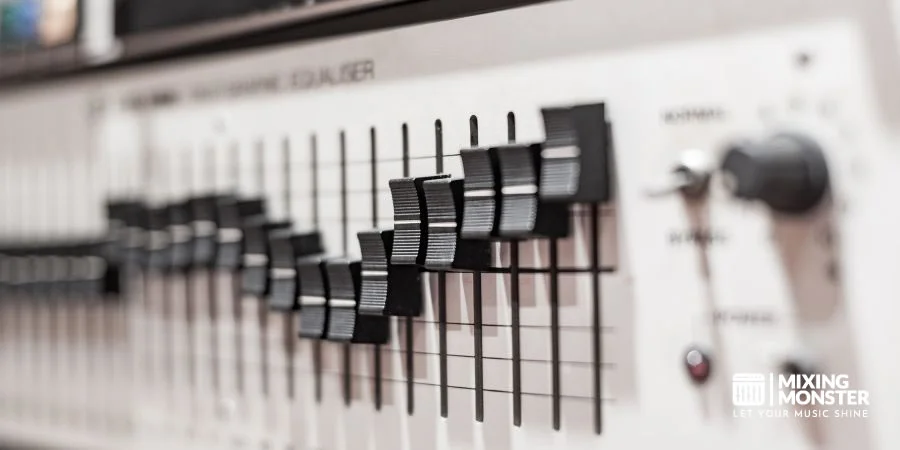
There are a variety of different EQ types and settings that can be used in audio mastering, including parametric EQ, graphic EQ, and linear phase EQ. Each of these types has its own strengths and weaknesses, and a mastering engineer will choose the appropriate type and settings based on the specific needs of the mix.
Here’s an example of processing a mix with equalization in audio mastering:
Imagine you have a mix that has a muddy or boomy quality, with too much energy in the lower frequencies. The mix may lack clarity or definition, and the individual elements may be difficult to distinguish from one another.
To address this problem, a mastering engineer should apply apply equalization to the mix. They would start by identifying the frequency ranges that are contributing to the boomy or muddy quality of the mix, which may be centered around the low-end frequencies.
The mastering engineer would then use a low-cut filter, also known as a high-pass filter, to remove some of the low-end frequencies from the mix. This would help to reduce the boominess and make the individual elements more distinct.
Next, the engineer may use a peaking filter to selectively reduce the energy in specific frequency bands, such as the frequency range that’s causing the mud or boominess.
They may also use a shelving filter to make broader adjustments to the overall tonal balance of the mix, such as boosting or cutting the high frequencies to add more sparkle or reducing the midrange to create a more distant or ambient sound.
In general, the mastering engineer would use a combination of different filters to shape the tonal balance of the mix and address any problem areas that are causing the mix to sound muddy or boomy.
By applying equalization in a precise and targeted way, the mastering engineer can help to improve the clarity and definition of the mix and make it sound more polished and detailed.
Equalization is a powerful tool that can be used to shape the overall sound of a mix in a variety of ways, and is an essential part of the audio mastering process.
3. Compression In Audio Mastering
Compression is a process used in audio mastering to reduce the dynamic range of a recording by attenuating louder sounds and boosting quieter sounds to improve overall consistency. Compression is often used in conjunction with other processing techniques such as EQ, and limiting.
During compression, the mastering engineer applies a compressor to the audio signal, which reduces the level of the loudest sounds above a certain threshold, while leaving quieter sounds below the threshold untouched.
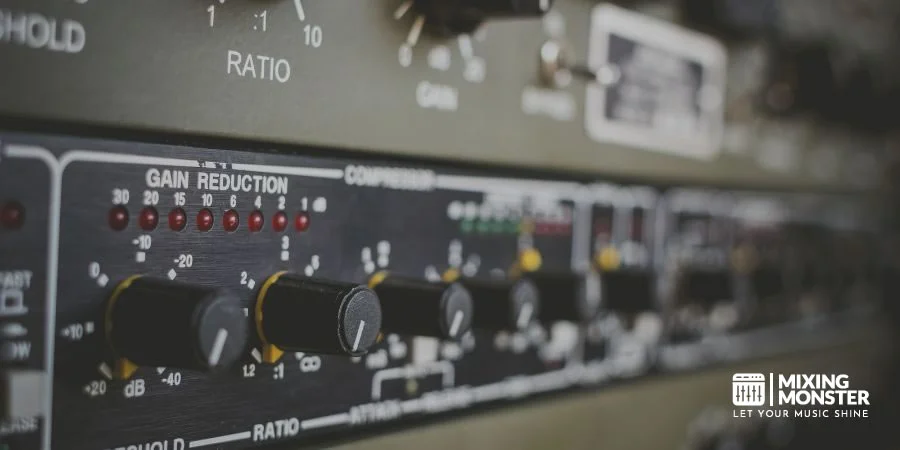
The amount of reduction is determined by the ratio setting, which controls the amount of gain reduction applied to the signal above the threshold. In addition to the ratio setting, other parameters of a compressor, such as the attack time, release time, and knee setting, can be adjusted to fine-tune the compression and achieve the desired effect.
Compression can be used to achieve a variety of goals in audio mastering, including reducing the dynamic range of a recording, enhancing the sustain of instruments, and bringing out details in the mix.
Here is a typical scenario regarding compression in audio mastering:
Let’s say you have a mix that has a lot of dynamic range, with some elements of the mix being significantly louder than others. The quieter elements may be difficult to hear when played back on certain systems, while the louder elements may cause distortion or clipping.
To address this issue, a mastering engineer may choose to apply compression to the mix. They would start by setting the threshold of the compressor to a level where it only affects the loudest parts of the mix, and then adjust the ratio to determine the amount of gain reduction applied to those parts.
For example, if the engineer sets the threshold at -12 dB and the ratio at 2:1, the compressor would reduce the level of any sounds that exceed -12 dB by half, so a peak that was originally at -10 dB would be reduced to -11 dB. This would help to reduce the overall dynamic range of the mix and make it sound more consistent.
The mastering engineer may also adjust the attack and release times of the compressor to fine-tune the compression and achieve the desired effect. A shorter attack time will allow the compressor to respond more quickly to transient peaks, while a longer release time will allow the compressor to release more gradually and preserve the natural decay of sounds.
4. Stereo Imaging In Audio Mastering
Stereo imaging in audio mastering is the process of adjusting the spatial characteristics of a stereo recording. This includes modifying the width as well as creating a sense of depth and dimensionality within the mix.
The goal of stereo imaging in audio mastering is to control and enhance the initial stereo field of the mix while crafting a sense of space.
By using a combination of processes like stereo imager plugins or mid/side EQ processing, a mastering engineer can help to create a final mix that sounds immersive, wide and full.
Even though the process of stereo imaging is a common task in mastering and thus mentionend in this “basic” mastering technique article, the topic of stereo widening can become quite complex.
For this reason we covered the topic of stereo imaging or stereo widening in two additional articles, which you might be interested in reading:

5. Limiting In Audio Mastering
Limiting is a type of dynamic range compression that is often used in audio mastering to prevent peak levels from exceeding a certain threshold. By using a limiter in a careful and precise way, a mastering engineer can help to make the mix sound louder and more professional, without sacrificing the quality or integrity of the original recording.
Here’s an example of how limiting might be applied to a mix in audio mastering:
Just like in our compression example, let’s pretend you have a mix that has a lot of dynamic range, with some parts of the mix being very quiet and others being very loud. While this can create excitement and contrast in the mix, it can also make it difficult to achieve a consistent level across the entire track.
A mastering engineer would use a limiter to reduce the dynamic range of the mix, starting by setting the threshold of the limiter to a level that is just below the loudest peak in the mix.
This would allow the limiter to catch any peaks that exceed the threshold and reduce their level, preventing them from causing clipping or distortion.
Next, the mastering engineer would adjust the attack and release settings of the limiter to achieve the desired level of compression. A fast attack time would allow the limiter to respond quickly to peaks, while a slower release time would help to create a more natural-sounding compression.
The mastering engineer would then use the output gain of the limiter to increase the overall level of the mix, bringing up the quieter parts of the mix while preventing the loudest parts from clipping.
Limiting is often times found in the last spot of processing chain in audio mastering (maybe followed by a last necessary processing step called dithering). Nonetheless, most mastering engineers start by setting the limiter up first and proceed from a certain starting point.
When talking about limiting in audio mastering, you should familiarize yourself with the topics Dynamic Range and Headroom at some point:
6. Loudness Normalization In Audio Mastering
Loudness normalization, also known as volume normalization, is a process used in audio mastering to adjust the volume level of a recording to a standard level. The purpose of volume normalization is to ensure that the recording is at a consistent and appropriate loudness level for the intended listening environment.
Volume normalization is typically performed using specialized software that analyzes the audio and adjusts the gain or amplitude of the recording to bring it up to the desired level.
The most commonly used standard for volume normalization is the Integrated Loudness (LUFS) standard (Loudness Units Full Scale), which is designed to ensure that audio content is consistent and has a consistent perceived loudness across different platforms and devices.
Loudness normalization is important because it can help prevent listener fatigue and ensure that the audio is heard as it was intended, without having to constantly adjust the volume. Additionally, it can help prevent issues with audio clipping or distortion, which can occur when a recording is played back at excessively high levels.
Overall, volume normalization is a key technique in audio mastering that helps to ensure a consistent and optimal listening experience for the audience.
The loudness values for different types of music genres can vary widely, depending on the style and intended listening environment of the music. However, there are some general guidelines and common loudness values in LUFS that can be used as a starting point for loudness normalization in audio mastering.
Common Loudness Values In LUFS For Different Types Of Music Genres:
- Pop And Electronic Dance Music (EDM):
These genres tend to be quite loud and compressed, with loudness values in the range of -8 to -12 LUFS. This allows the music to stand out on the radio or in club settings, where louder and more impactful sounds are often preferred. - Rock And Metal:
These genres often have a more dynamic range than pop or EDM, but still tend to be relatively loud and compressed, with loudness values in the range of -10 to -14 LUFS. - Classical And Jazz:
These genres tend to have a wider dynamic range than pop, EDM, rock, or metal, and are often mastered at lower loudness values to preserve the dynamic range and subtleties of the music. Loudness values in the range of -16 to -20 LUFS are common for classical and jazz recordings. - Ambient And Experimental:
These genres can vary widely in loudness and dynamic range, depending on the style and intent of the music. However, they tend to be less compressed and mastered at lower loudness values than pop or EDM, with loudness values in the range of -14 to -18 LUFS.
These are just general guidelines and the actual loudness a track “needs” might differ from these values. Just keep in mind: there often is a tradeoff between loudness and dynamics. Try to keep loudness at conservative values in order to preserve the transient content and dynamics of a track.
7. What Is A Good Audio Mastering Workflow?
Mastering is an art. There can’t be a definitive answer to the question: “How to master a song?”. Nonetheless, some basic strategies and processes are found frequently in the mastering process.
A good audio mastering workflow typically involves several steps, each of which is designed to address specific aspects of the mix and optimize it for a wide range of listening environments. Here is a general outline of a good audio mastering workflow, including some of the techniques we have discussed in this article:
Basic Audio Mastering Workflow:
- Listen To The Mix And Identify Any Potential Issues:
Before starting the mastering process, it’s important to listen to the mix carefully and make note of any potential issues, such as frequency imbalances, unwanted noise or distortion, or inconsistent levels. This can help guide the rest of the mastering process and ensure that all issues are addressed. - Apply Basic Processing:
Once any issues have been identified, the mastering engineer can begin applying basic processing techniques, such as volume normalization, equalization, compression, and stereo imaging. These techniques should be used carefully and in a way that preserves the integrity of the original mix, while also enhancing its overall quality and impact. - Fine-tune The Mix With Specialized Tools:
After applying basic processing, the mastering engineer may use specialized tools to fine-tune the mix and address any remaining issues. For example, they may use multiband compression to address specific frequency ranges, or use mid-side processing to adjust the stereo image of the mix. - Apply Final Processing:
Once the mix has been fine-tuned, the mastering engineer can apply final processing techniques, such as limiting and dithering, to bring up the overall level of the mix and ensure that it is consistent and professional-sounding. - Verify The Mix In A Variety Of Listening Environments:
After the mastering process is complete, it’s incredibly important to verify the mix in a variety of listening environments, such as headphones, speakers, and car stereos (mono & stereo!). This can help ensure that the mix sounds good and consistent across a wide range of playback systems. - Deliver The Final Product:
Once the mastering process is complete and the mix has been verified, the final product can be delivered to the client in the desired format (such as a digital audio file or a physical CD).
This is just a general outline of a mastering workflow. The exact steps and techniques used will depend on the specific needs and goals of the project.
A skilled mastering engineer will be able to adapt their workflow to the unique characteristics of each mix and ensure that the final product meets the highest standards of quality and professionalism.
8. How To Get Started In Audio Mastering
In summary, audio mastering is the process of preparing a final mix for distribution by optimizing its overall sound quality, balance, and loudness.
If you are interested in getting started in audio mastering, there are several steps you can take:
Start by learning the basics of audio mastering, including the techniques and tools used in the process. Go ahead and study our blog or even join one of our courses in the future.
Once you have a basic understanding of audio mastering, practice on your own mixes to develop your skills and gain experience. Be sure to listen critically and make note of any issues or areas for improvement.
Share your mastered mixes with other producers, engineers, or mastering professionals to get feedback on your work. This can help you identify areas for improvement and refine your skills.
As you gain experience and confidence in your mastering abilities, build a portfolio of your work to showcase your skills and attract potential clients.
If you are serious about pursuing a career in audio mastering, consider formal training through a music school or university, or by taking courses online.
Remember that mastering is a skill that takes time and practice to develop, but with dedication and hard work, you can become a skilled and successful mastering engineer.
Enjoy your journey while learning the art of audio mastering!

