Home > Blog > Editing > Editing Techniques
Affiliate Disclaimer: We may earn a commission if you purchase through our links
Navigating the world of audio editing can seem like a daunting task, especially for beginners. In our comprehensive guide on how to edit audio, we’re breaking down the complex jargon and intricate processes into a clear, step-by-step roadmap. Buckle up as we venture into the exciting world of sound, helping you to refine your audio editing skills and bring your creative ideas to life.
Learning how to edit audio involves understanding the latest digital tools and mastering techniques like cutting, trimming, adjusting volume, and adding effects. This skill is invaluable for creating high-quality audio content.
Ever wondered how your favorite podcast sounds so clean or how music tracks blend seamlessly? Dive into our guide on how to edit audio and unravel the secrets behind creating impeccable audio content that resonates.
Table Of Contents
1. Introduction On How To Edit Audio
2. The Basics Of Audio Editing
3. Essential Tools For Audio Editing
4. Software For Audio Editing
5. The Audio Editing Process
6. Advanced Audio Editing Techniques
7. Wrapping Up: The Future Of Audio Editing
8. FAQ

1. Introduction On How To Edit Audio
Knowing how to edit audio has become an essential skill across various professions and hobbies in this digital revolution.
But what exactly is audio editing, and why is it so important? Let’s dive into the intricacies of audio editing and discover the magic beneath those finely tuned sounds we hear.
What Is Audio Editing?
Audio editing is manipulating audio files to enhance their quality and composition.
This could involve simple tasks like cropping a piece of audio or more complex ones like adjusting the volume levels, maybe even adding effects, or blending multiple tracks.
It’s like being a sound chef, where raw audio files are your ingredients, and the editing software is your kitchen. You’re in control of the final dish — the auditory experience that your listeners will consume.
Why Is Audio Editing Important?
Imagine listening to a podcast where the volume levels are inconsistent, background noises are distracting, and the transitions between speakers are abrupt. Not a great experience, right?
That’s where audio editing comes in. It polishes the raw audio, removes unwanted elements, and enhances the auditory experience.
Whether creating a podcast, producing music, or editing the audio for a video, knowing how to edit audio can elevate your content from amateur to professional.
2. The Basics Of Audio Editing
Ready to learn how to edit audio? Great! But first, let’s take a step back and understand some basics about audio file formats and types.
Audio File Types
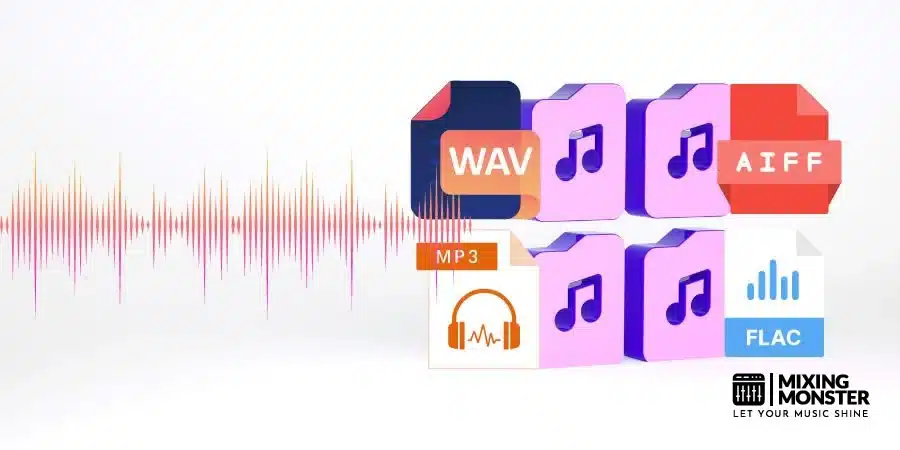
In the world of audio editing, you’ll encounter various audio files, each with unique properties. The most common ones include WAV, MP3, AIFF, and FLAC.
WAV and AIFF files are:
- Uncompressed formats.
- Meaning they retain all the original audio data.
- Resulting in high-quality sound.
On the flip side, they take up a lot of storage space.
MP3 and FLAC files, however, are compressed formats with lower-quality sound compared to uncompressed formats.
Compressed Vs. Uncompressed Formats
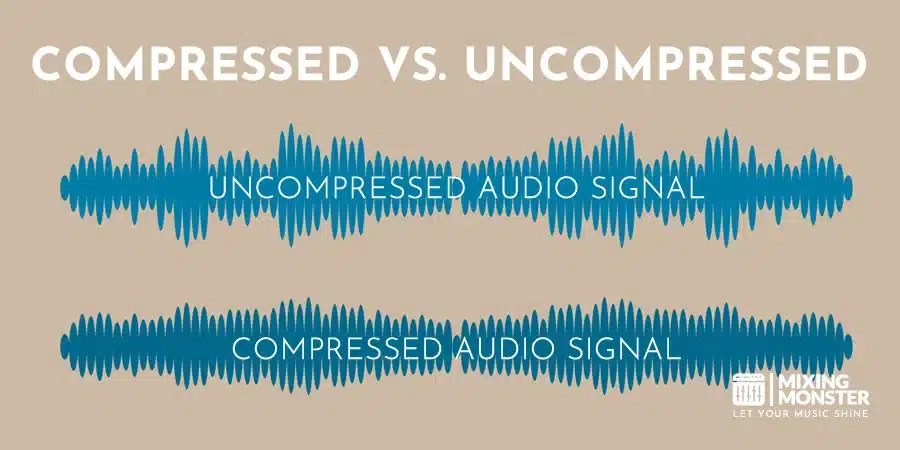
What does it mean when we say a file is ‘compressed’? Compression reduces the audio file’s size, making it easier to store and share.
MP3 files, for instance, use a form of lossy compression, which means some audio data is lost in the process, but they’re much smaller in size compared to uncompressed formats.
FLAC files, on the other hand, use lossless compression. They retain all the original audio data while reducing the file size. The catch? They’re larger than MP3 files but smaller than WAV and AIFF files.
Choosing between compressed and uncompressed formats largely depends on your specific needs. If you prioritize audio quality and editing flexibility, uncompressed formats are the way to go.
But compressed formats might be better if storage space or sharing the file is a concern.
Ready for the next step in learning how to edit audio? Keep reading as we delve into the essential tools for audio editing in the next section.

3. Essential Tools For Audio Editing
If you’re looking to navigate the world of audio editing, you’ll need the right tools to get started. These can be categorized into hardware and software.
The hardware involves the physical tools required for capturing and playing back audio, while the software allows you to manipulate the audio files per your needs.
Required Hardware
When you think about hardware for audio editing, it’s easy to imagine a complex studio setup with mixers, synthesizers, and drum machines.
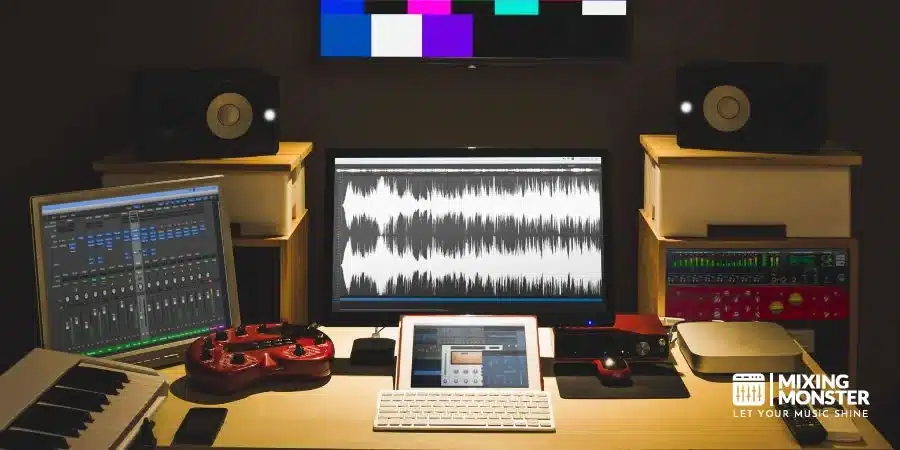
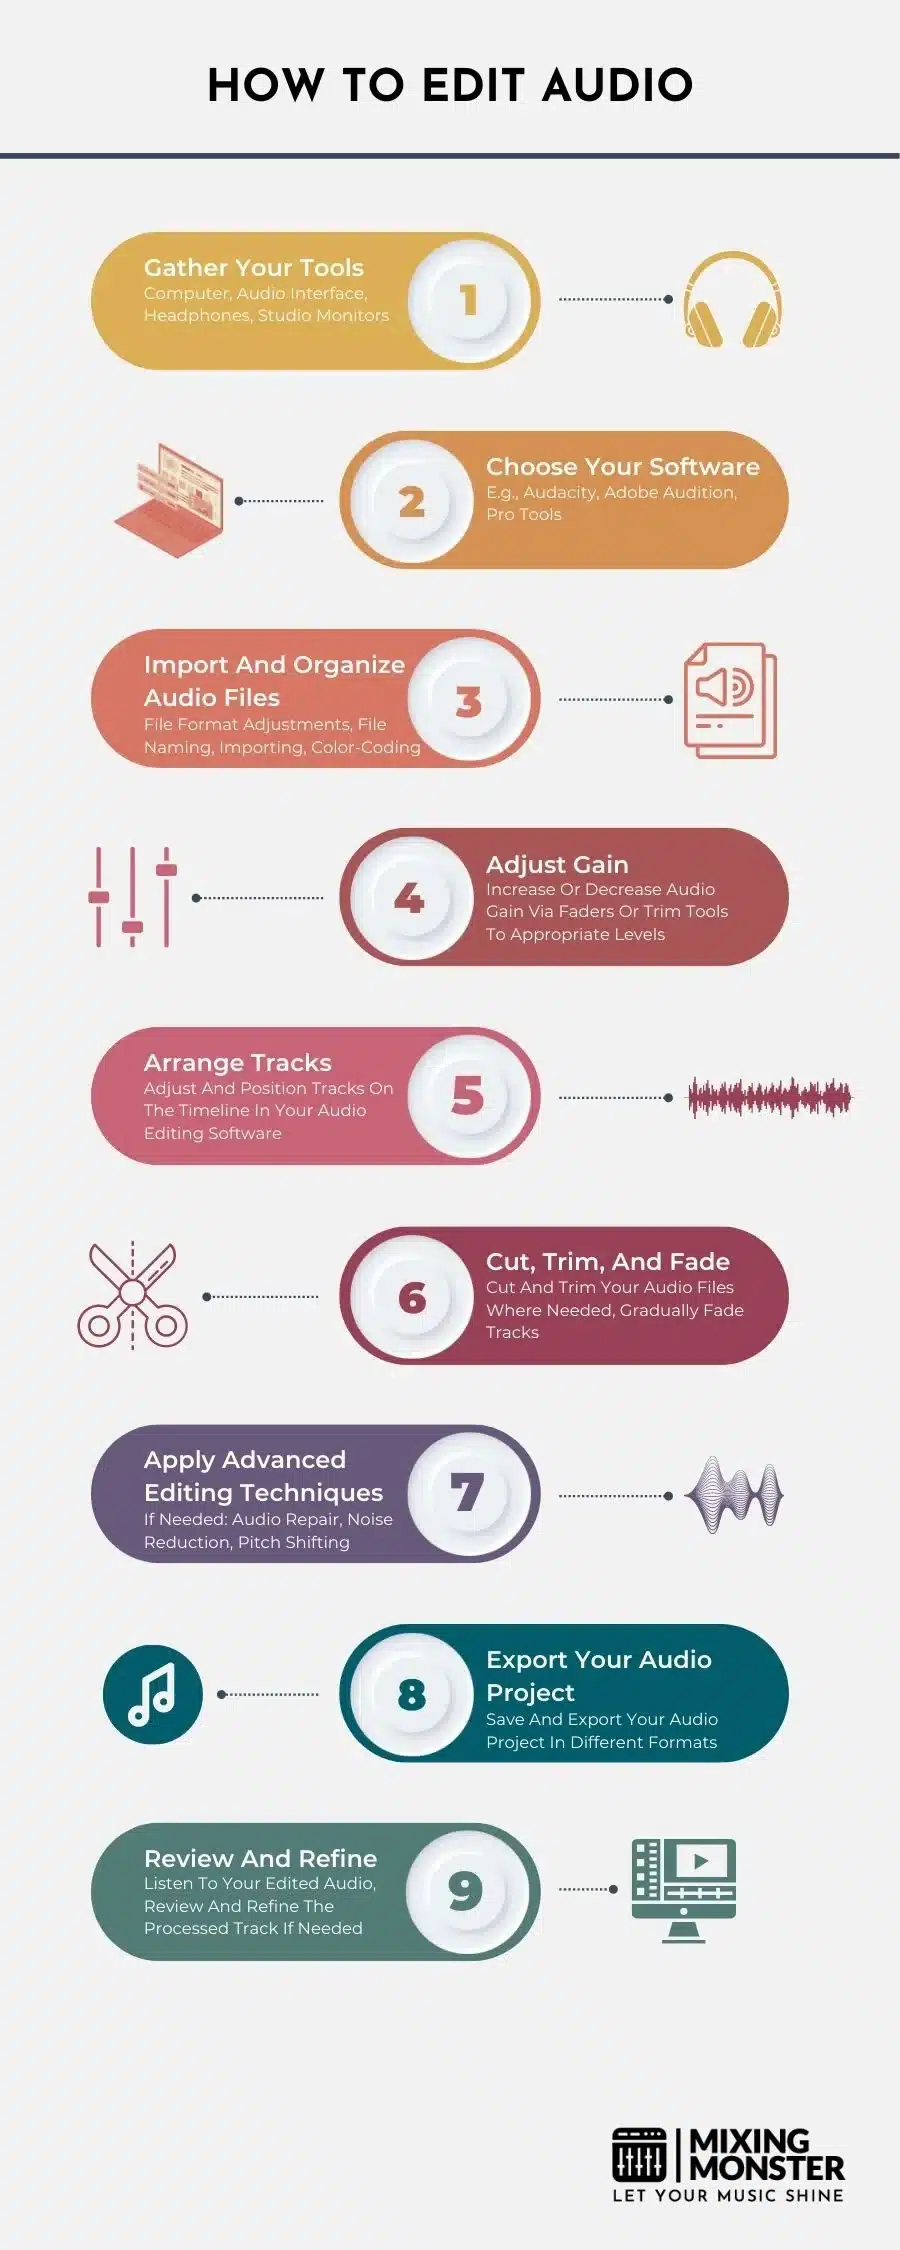
But for beginners, the list of required hardware is relatively short. A decent computer, a decent audio interface, and headphones or studio monitors are enough to get you started.
Importance Of Quality Headphones Or Studio Monitors
Why invest in quality headphones or studio monitors? Can’t standard speakers do the job? The devil is in the detail when it comes to audio editing.
Quality headphones or studio monitors provide a clear, balanced sound that lets you hear every piece of your audio, making it easier to spot any issues that need fixing.
They’re like the magnifying glass for your ears in audio editing and an inevitable asset in music production.
Investing in the equipment for editing audio is helpful to craft professional audio, ensuring your tracks are balanced, refined, and ready for mixing and mastering. Remember that your skills and critical listening abilities are just as essential as the tools you use.
4. Software For Audio Editing
Once you have your hardware sorted, the next step is to choose your audio editing software. This is where the actual ‘editing’ happens. It’s like the digital canvas on which you’ll create your audio masterpiece.
Overview Of Software Choices
A wide range of audio editing software is available in the market, each with unique features and capabilities.
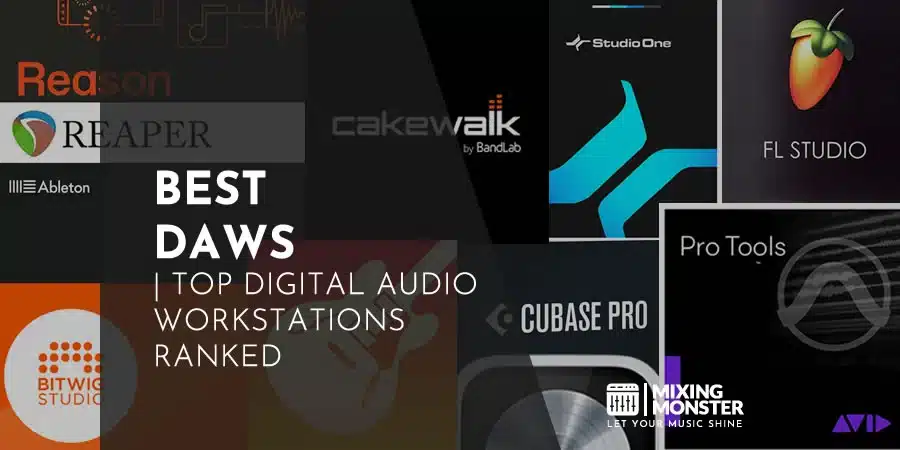
They range from free and beginner-friendly (like Audacity) to professional-grade and costly (like Pro Tools). Some popular ones include Audacity, Adobe Audition, GarageBand, and Pro Tools.
Selecting The Right Software For Your Needs
Choosing the right software depends on your needs and skill level. Are you a beginner looking to edit a simple podcast or a seasoned professional aiming for complex music production?
Do you prefer a one-time purchase or a monthly subscription? What’s your budget? Answering these questions will help you identify the software best fits your needs. Remember, the goal is not to find the best software out there but the best one for you.
Buckle up! With the essential tools, you’re now ready to embark on the exciting journey of learning how to edit audio. In the next section, we’ll guide you through the audio editing process step by step.
Even if it is not necessary to start audio editing with professional software, we highly recommend you take a look at suitable audio software or digital audio workstations (DAWs). Learning to work with a DAW in case you want to continue working in the audio domain is advisable.

5. The Audio Editing Process
Stepping into the world of audio editing might seem daunting at first, but once you get the hang of it, you’ll find it a rewarding and creative process.
Let’s now delve into the intricate journey of how to edit audio, covering everything from the initial import of your files to the final export of your polished project.
#1 Importing And Organizing Audio Files
The first and foremost step in the audio editing process is importing your audio files into your chosen software.
This could be a voiceover for a podcast, an instrumental track for a song you’re producing, or sound effects for a video game; whatever the source of your audio, your editing software is where it will be polished to perfection.
In most software, you can import files by dragging and dropping them into the project window or by going to the file menu and selecting ‘import’. Ensure that your audio files are in a format supported by your software (standard formats include .wav, .mp3, and .aiff).
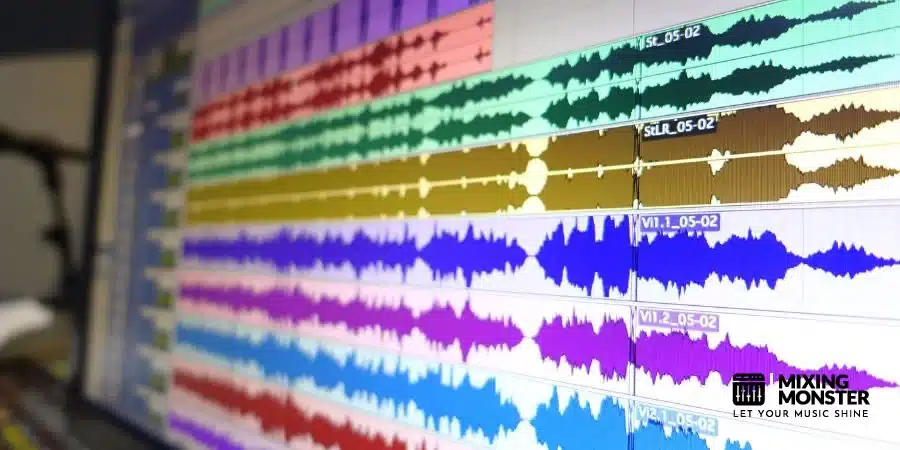
Once your files are imported, organizing them effectively is crucial, mainly if dealing with multiple tracks. Think of your project as a bookshelf, each track as a different book; the good organization will allow you to quickly find the ‘book’ you’re looking for.
Most software will enable you to color-code tracks and group related tracks together, so take full advantage of these features to keep your project tidy.
#2 Gain Adjustments And Arranging
The next stage of the editing process involves adjusting the gain, or volume, of your audio files. Most software provides a tool called a ‘gain slider’ or ‘volume fader’ that you can use to adjust the volume of each track.
There might also be a plugin solution often called ‘trim tool’ to make gain adjustments. In the end, you want to ensure that all your tracks are at similar and suitable volume levels to create a balanced and coherent sound.
Once your gain levels are adjusted, you’ll arrange the tracks in the order they appear in the final piece. This could mean placing your main vocal track at the piece’s start, followed by a guitar track, and so on.
Remember, there’s no ‘right’ way to arrange your tracks; whatever sounds best to you is the best arrangement.
#3 Cutting, Trimming, And Fading
Now comes the nitty-gritty of editing: cutting, trimming, and fading. Cutting and trimming are used to remove unwanted audio parts or to split a more extended audio file into smaller sections.
For example, you might cut out a cough from a vocal track or trim a guitar solo that runs too long. Every editing software offers dedicated functions to cut and trim audio files conveniently.
Most software provides ‘fade in’ and ‘fade out’ tools that you can easily apply to your tracks. Conversely, fading is used to gradually increase or decrease the volume at the start or end of an audio clip.
This creates smooth transitions between different audio pieces, making your final music sound more polished and professional.
#4 Exporting Your Audio Project
Finally, once you’re satisfied with your edited masterpiece, it’s time to export your project. Exporting involves saving your work in a specific audio format that can be played on various devices.
Most software will allow you to export in multiple formats, but the most common are .wav (for high-quality, uncompressed audio) and .mp3 (for smaller file sizes).
Remember to listen to your exported file to ensure everything sounds as it should. Sometimes, problems can occur during the export process, so it’s always worth taking the time to check the final product.
Congratulations, you now know how to edit audio! With practice, you’ll soon be creating professional-quality audio projects.
6. Advanced Audio Editing Techniques
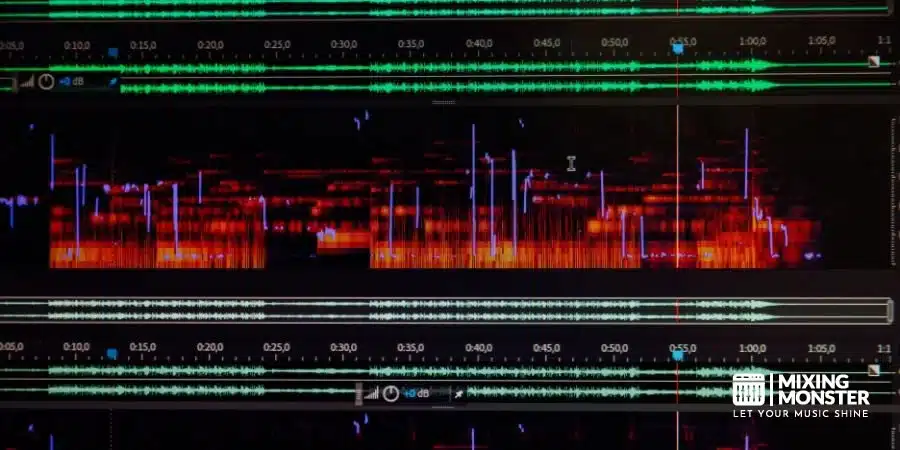
Once you’ve mastered the basics of audio editing, you should explore some advanced techniques. These can take your audio projects to the next level, allowing you to repair and restore audio files, reduce noise, and align and stretch time.
All the processes below can require specialized software to address specific problems one at a time. We won’t dive deep into advanced editing techniques in this article, but here is a quick overview:
Audio Repairing And Restoration
Audio repairing and restoration involve fixing audio issues like distortion, clicks and pops that may occur during recording. These techniques can restore your audio to its original quality, making it sound as good as new.
Techniques For Noise Reduction
Noise reduction is an essential part of audio repair. It involves removing background noise or unwanted sounds from your audio (like amp hiss, microphone bleeding, etc.), resulting in cleaner and clearer sound.
Time Alignment And Stretching
Time alignment and stretching involve adjusting the timing of your audio files. This can be useful when syncing audio to video or adjusting the tempo of a song without changing its pitch. These advanced techniques can add a professional touch to your audio projects.
With these skills under your belt, you’re well on your way to becoming a pro at audio editing.

7. Wrapping Up: The Future Of Audio Editing
In conclusion, learning how to edit audio is an exciting journey that begins with understanding what audio editing is and why it’s crucial.
We’ve explored the hardware and software tools required for this craft and taken a dive into the step-by-step process of editing audio, from importing and arranging audio files to making necessary adjustments and exporting your masterpiece.
You’re well-equipped to explore audio editing with the skills and knowledge you’ve gained from this guide. Moreover, we’ve explored some crucial advanced techniques that add professional touches to your work, such as audio repair and restoration, noise reduction, and time alignment.
Remember, practice makes perfect, so don’t hesitate to apply what you’ve learned and continue to refine your skills.
Here’s to your success in the world of audio editing!

8. FAQ
- What Software Is Best For Beginners Learning How To Edit Audio?
For beginners, user-friendly software like Audacity is often recommended. It provides a robust feature set, intuitive interface, and free-to-use, making it a great starting point. - Why Is Audio Editing Important In The Production Process?
Audio editing ensures the highest quality output in any music production. It allows for removing unwanted noise, balancing sound levels, and fine-tuning audio to achieve a professional result. - What Are The Basic Steps In Editing Audio?
The basic steps typically include the following:
Importing the audio file.
Making gain adjustments.
Arranging sections of the audio.
Cutting or trimming unnecessary parts.
Applying effects if needed, and, finally
Exporting the edited audio file. - What Hardware Do I Need To Edit Audio?
You’ll need a good pair of headphones or studio monitors for accurate audio playback. A computer with sufficient processing power and storage is also necessary. Some editors prefer an external audio interface for higher-quality sound capture and playback. - What Are Some Advanced Audio Editing Techniques?
Advanced techniques include noise reduction, audio repair and restoration, and time alignment and stretching. These techniques require a deeper understanding of audio editing software and involve specialized tools.

