Home > Blog > Music > Music Production
Disclosure: Some of the links below are affiliate links, meaning that at no additional cost to you, we will receive a commission if you click through and make a purchase. Read our full affiliate disclosure here.
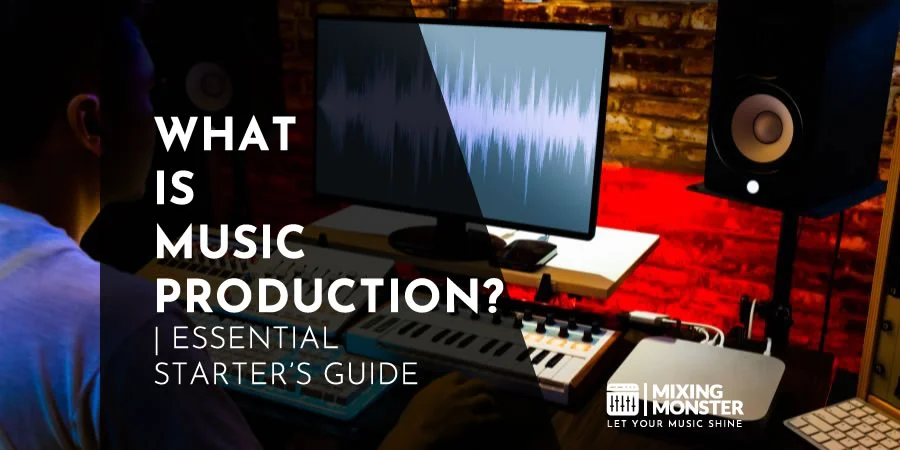
Music production is both an art and a science—it’s the messy, fascinating journey that turns a spark of musical inspiration into a finished recording you can actually share with the world. It covers everything from writing the first line to tweaking the last EQ knob, and calls for both wild creativity and a bit of technical know-how.
Music production encompasses several overlapping stages: songwriting, recording, editing, mixing, and finally, mastering. The producer’s job is to manage these steps — making creative calls and handling the technical side of things to get the sound just right.
Getting a handle on music production basics can seriously level up your sound. You don’t need a fancy studio either—just some know-how and a willingness to experiment with the gear you’ve got.
These days, most producers rely on Digital Audio Workstations (DAWs). DAWs are like a Swiss Army knife for music, letting you edit audio and MIDI, play around with virtual instruments, and slap on effects until it sounds just how you imagined.
If you stick with it and keep learning, music production lets you shape your own sound and build up a toolkit that’s valuable in any genre. Whether you’re making beats for yourself or helping someone else, you’ll be diving into sound design, arranging, and audio engineering. It’s a lot to take in, and honestly, there’s always more to learn.
With enough practice, you can create and record right from your laptop. It’s amazing—your ideas can become finished tracks that actually reach people.
KEY TAKEAWAYS:
- Music production covers the whole process from writing to mastering, blending creative instincts and technical chops.
- If you start with basic gear and a DAW, you can make great music at home—no need for a big studio budget.
- Building your own production style and nailing mixing basics helps your music stand out—even in a crowded field.
Table Of Contents
1. Understanding Music Production Fundamentals
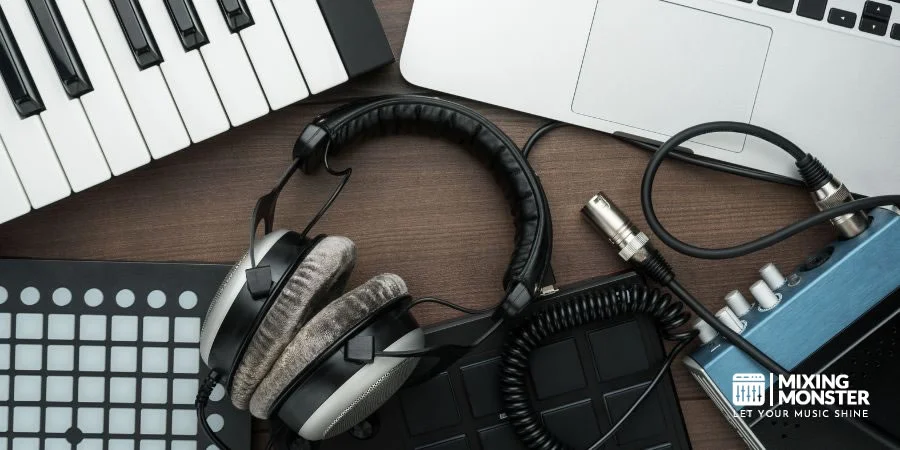
2. Essential Home Studio Equipment for Beginners
3. Mastering Your Digital Audio Workstation
4. Sound Design and Synthesis Explained
5. Mixing Techniques for Professional Sound
6. Mastering Your Tracks for Release
7. Music Production Workflow Optimization
8. Building Your Production Style and Brand
9. Key Takeaways for Music Production Beginners
FAQ

1. Understanding Music Production Fundamentals
Music production is this odd mix of technical know-how and creative guts—basically, it’s how you turn a tune in your head into something you can actually listen to. Technology has changed the game, but the core ideas still matter, no matter what genre you’re into.
What Exactly Is Music Production?
Music production means taking a song from that first spark all the way to a finished master. You’ll need a bunch of skills and tools to bring your ideas to life.
A producer guides the whole thing—making decisions that balance creativity and practicality, shaping the sound at every step.
You’ll capture performances, tweak audio, and push the sound until it hits the right emotional notes. It takes both an engineer’s ear and a musician’s heart.
Most producers end up wearing a lot of hats—composer, arranger, engineer, sometimes even the artist. It’s a lot, but it lets you craft a sound that really connects.
The Evolution of Music Production Technology
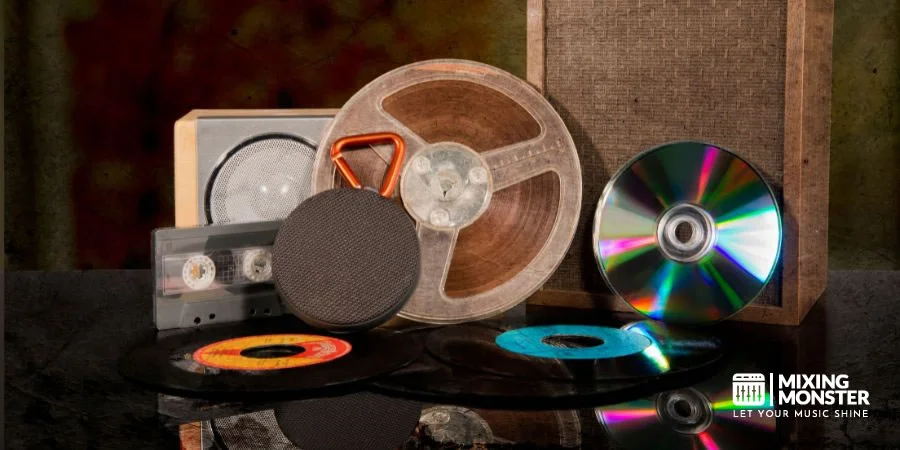
Music production tech has come a long way, from clunky mechanical recorders to today’s sleek digital setups. Back in the day, folks had to nail everything in one take, with barely any editing.
When magnetic tape showed up in the 1940s, everything changed. Suddenly, you could record multiple tracks and layer sounds—way more creative freedom.
Then digital tech arrived in the 1980s—samplers, MIDI, early DAWs. Suddenly, you didn’t need a big studio to make professional music. Anyone with a computer could jump in.
Now, cloud tools and even AI are pushing things further. Producers can work together from anywhere, and honestly, the possibilities keep growing.
Key Components of the Production Process
Most production projects follow a few key steps:
- Pre-production:
Brainstorming ideas, arranging songs, and planning out recording sessions - Recording:
Actually capturing the instruments and vocals - Editing:
Cleaning up takes, fixing timing or pitch if needed - Mixing:
Balancing everything and adding effects - Mastering:
Polishing the final audio so it sounds good everywhere
Solid music production requires a solid understanding of elements like signal flow, acoustics, and digital audio principles. On top of that, you’ve gotta have a feel for musical building blocks—harmony, melody, rhythm, all that jazz.
The gear you pick—mics, monitors, the whole setup—definitely shapes your sound. But honestly, your ears and your choices matter way more than whatever’s in your rack.
Different Genres and Their Production Characteristics
Every genre has its own production quirks that make it sound, well, like itself.
Hip-hop leans heavily on samples, punchy drums, and deep bass—usually built to let the vocals shine.
Electronic dance music is all about synths, tight rhythms, and those big builds and drops. Producers here spend a ton of time automating effects and crafting unique sounds.
Rock tends to focus on capturing the energy of a band, chasing those raw, real instrument tones. More and more, though, you’ll hear digital tricks mixed in with the classic approach.
Jazz and classical? They’re all about natural acoustics and subtlety. Producers use special mic setups and pay close attention to the room, trying to keep the performance as pure as possible.
2. Essential Home Studio Equipment for Beginners
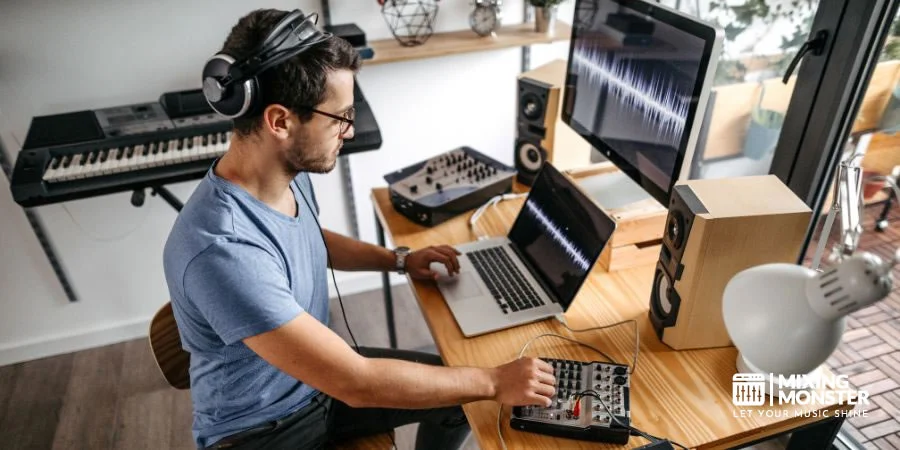
If you want to set up a home studio, you’ll need to pick up some key gear. The right stuff can make a big difference, even if you’re working in a cramped bedroom with a tight budget.
Budget-Friendly DAW Options
Your DAW (Digital Audio Workstation) is basically the brain of your studio. There are plenty of affordable choices that don’t skimp on features.
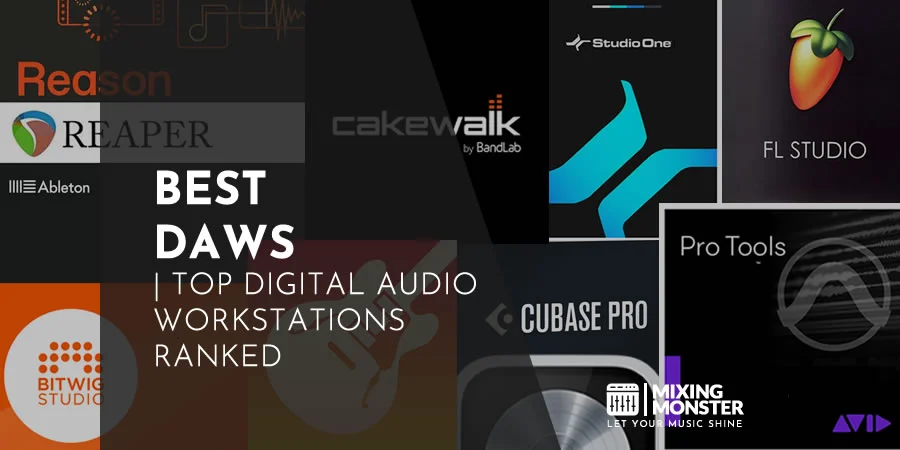
Free/Low-Cost DAWs:
- GarageBand (Free for Mac users) – Super easy to use and great for getting started
- Reaper ($60 license) – Packed with features, plus an extended trial period to see if you vibe with it
- Cakewalk by BandLab (Free) – A full-on DAW that’s surprisingly powerful for zero dollars
Mid-Range Options:
- Ableton Live Intro ($99) – Killer for electronic music and live sets
- FL Studio Fruity Edition ($99) – Go-to for beatmakers, and you get free updates forever
When choosing a DAW, consider your workflow and the type of music you want to create. Most of them offer free trials, so you can mess around before you commit.
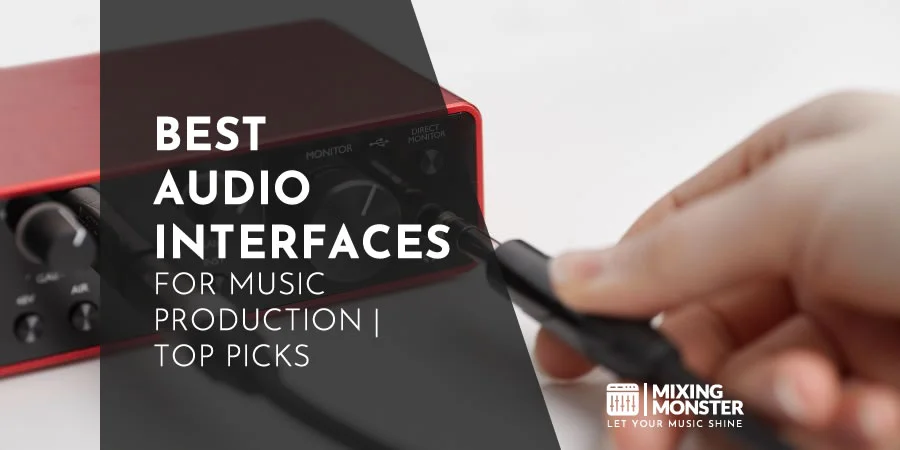
Selecting Your First Audio Interface
An audio interface links your instruments and microphones to your computer, turning analog signals into digital data your DAW can handle. That’s the bridge between your gear and your software world.
Key Considerations:
- I/O Count: Figure out how many inputs/outputs you’ll actually use
- Preamp Quality: Impacts your recording clarity a lot
- Connectivity: USB, Thunderbolt, PCIe—pick what works with your system
- Sample Rate: Higher rates mean more detail, but don’t overthink it for starters
The Focusrite Scarlett series gives beginners a solid bang for the buck. The 2i2 model lets you record two sources at once—pretty handy. PreSonus AudioBox USB and Behringer UMC202HD are decent budget picks too, both under $150 if you keep an eye out.
Definitely make sure your interface has 48V phantom power if you’re using condenser mics, and direct monitoring is a lifesaver for zero-latency recording.
Microphone Types and Recommendations
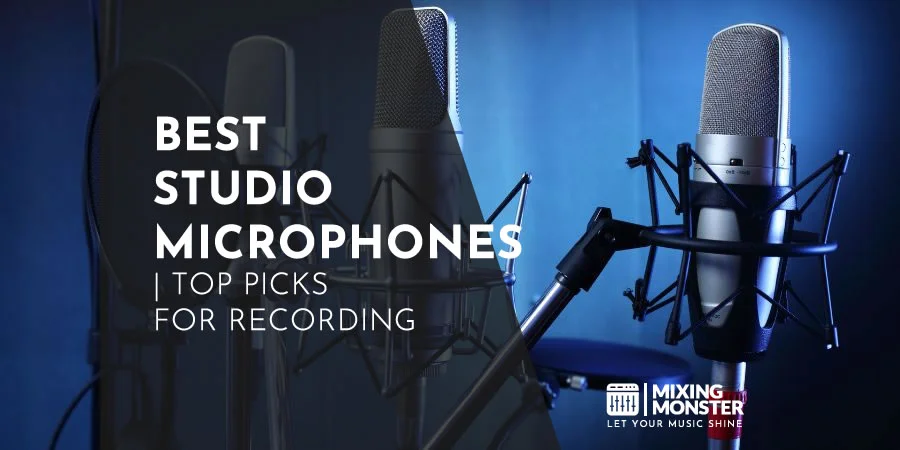
Microphones shape your sound from the start, so picking the right type matters. Knowing the two main categories is really helpful when you’re just starting.
Dynamic Microphones:
- Tough and usually cheaper
- Can take loud volumes without breaking a sweat
- Great for drums and guitar amps
- Don’t pick up as much room noise
- Classic picks: Shure SM57/SM58 ($99)—can’t go wrong, honestly
Condenser Microphones:
- Capture finer details and subtleties
- Need phantom power to work
- Shine on vocals and acoustic stuff
- Pick up more of the room’s vibe
- Solid budget choice: Audio-Technica AT2020 ($99)
If you’re new to recording vocals or acoustic instruments, a large-diaphragm condenser mic gives you a lot of flexibility. The Rode NT1 sounds fantastic for around $269—not exactly cheap, but it’s a long-term investment.
Headphones vs. Monitors for Critical Listening
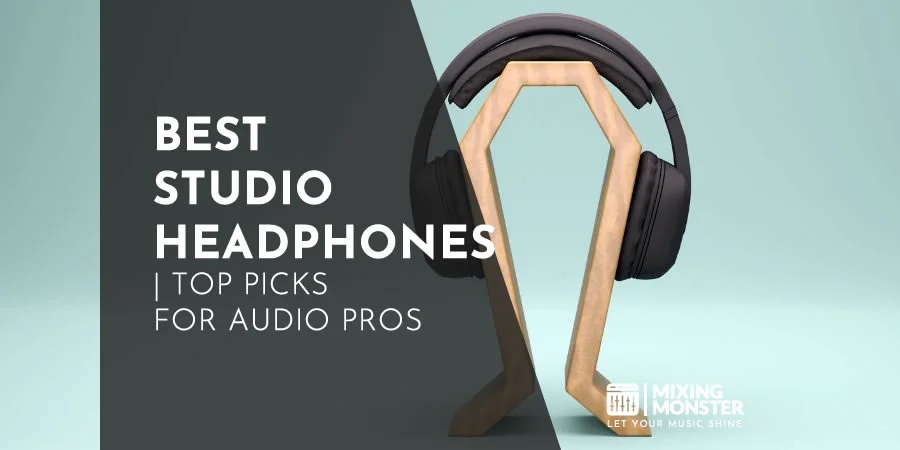
You’ll need either headphones or studio monitors (or both eventually) for serious listening, but each comes with its own perks for beginners.
Studio Headphones:
- Closed-back (Audio-Technica ATH-M50x, $149) block out leaks—good for recording
- Open-back (Sennheiser HD600, $300+) sound more natural for mixing
- Usually cheaper than decent monitors
- Don’t care about your room’s acoustics
- Great if you’re working late or in an apartment
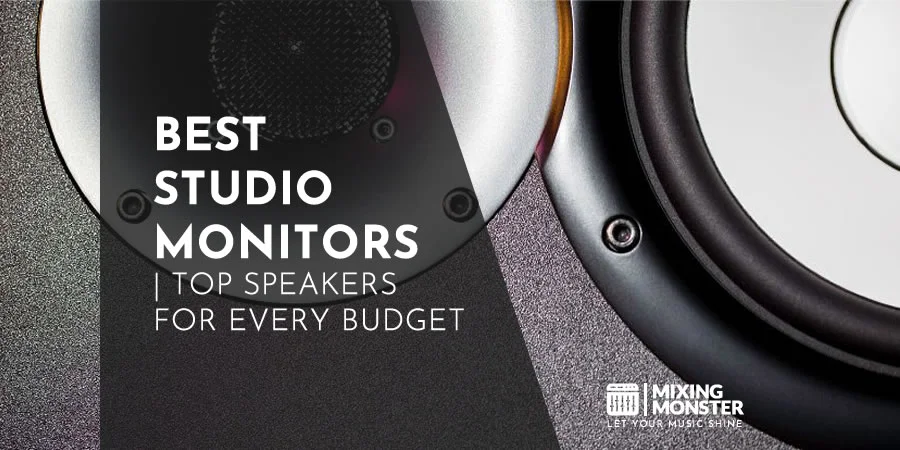
Studio Monitors:
- Let you hear the stereo space and depth better
- Crucial for final mixing calls
- Starter models: JBL 305P MkII or PreSonus Eris E5 (about $300/pair)
- Need some acoustic tweaks in your space to sound right
Honestly, if you’re starting, grab a good pair of headphones first. You can always add monitors once you get deeper into mixing and your wallet recovers a bit.

3. Mastering Your Digital Audio Workstation
Your Digital Audio Workstation (DAW) sits at the heart of modern music production—it’s where all the magic comes together. If you can navigate your DAW and actually use it well, your workflow and final tracks will thank you.
Navigating DAW Interfaces and Workflows
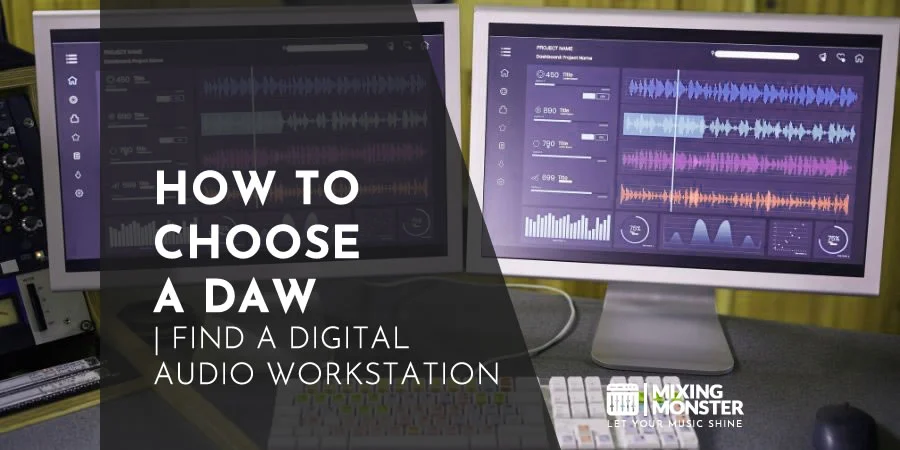
Most DAWs look different, but honestly, they share the same basic parts: a timeline or arrangement view, a mixer, and a browser for your sounds and effects.
Popular DAWs like FL Studio, Logic, and Ableton all work off similar ideas, even if their layouts throw you off at first. Try tweaking the workspace to fit your own style—it’s worth the effort.
Keyboard shortcuts? They’re a game changer. Learn the ones you use most—copy/paste, zoom, and playback. Saves you a ton of time.
Setting up project templates with your go-to tracks and effects speeds up your creative process. No one wants to waste energy on busywork when inspiration hits.
Essential DAW Components:
- Transport controls (play, record, stop)
- Track view and timeline
- Mixer section
- Browser/media library
- Piano roll/MIDI editor
Recording Audio and MIDI Basics
To record audio, connect your interface, then select the correct input in your DAW’s preferences. Set the gain so you’re not clipping or too quiet—trust your ears and meters.
When you’re tracking vocals or instruments, create a new audio track and hit that record-enable button. Always keep an eye on your levels so you don’t ruin a good take with distortion.
MIDI recording is a bit different—it captures what you play, not the actual sound. Plug in your MIDI controller and pick a virtual instrument for your MIDI track. That’s where the fun starts.
Quantization can tidy up your timing, but don’t get too robotic with it. A little human touch goes a long way—fix the obvious mistakes and leave some room for creativity.
Loop recording lets you nail tricky parts or lay down layers without stopping the flow. Just set a loop and go for as many takes as you need.
Understanding Track Arrangement and Structure
Good song structure usually follows familiar patterns—intro, verse, chorus, bridge, outro. Use timeline markers to label these so you don’t get lost in your own project.
Color-coding your tracks helps a ton. Grouping drums, bass, and leads with different colors makes life easier when your project grows.
Always name your tracks clearly. “Audio 1” means nothing a week later—trust me. Come up with a naming system that works for you.
Folders and groups keep big sessions manageable. Bundle similar tracks together so you’re not scrolling forever, and process them as a unit if you want.
Don’t be afraid to copy, cut, and shuffle sections around. Trying different arrangements is part of the creative process—sometimes the best ideas come from happy accidents.
Automation and Creative Effects Processing
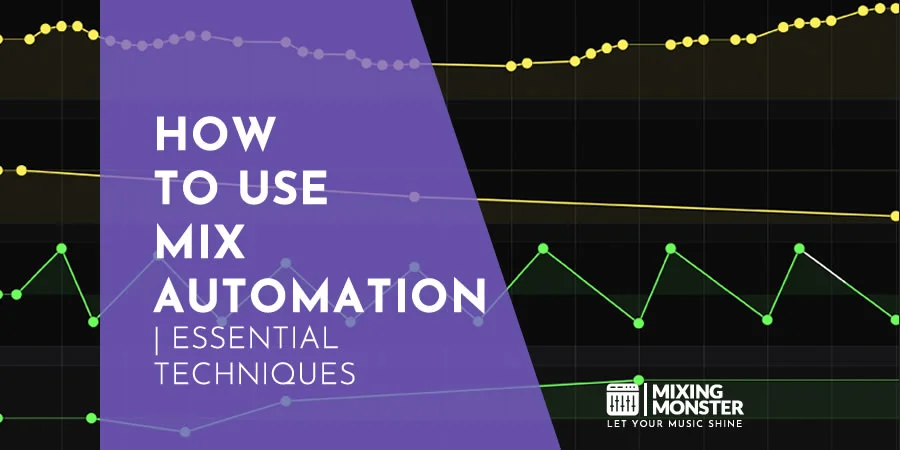
Automation brings productions to life by letting you control parameters over time. Most DAWs hand you several automation modes—write (where you record parameter changes as you go), read (which plays back those moves), and a bunch of editing options.
Volume automation lets you shape a track’s dynamics in a way that feels musical and organic. Rather than relying on compression alone, you can incorporate volume changes to achieve smoother transitions between sections.
Filter sweeps and effect transitions get way more interesting with automation curves. Try tweaking the curve shapes between points to go from silky smooth to sudden and dramatic—sometimes the unexpected works best.
Creative effects processing can turn a bland sound into something wild. Stack up effects in odd orders—like distortion into reverb, or pitch-shifting before delay—and see what happens. You might stumble onto something you want to use again.
Mastering your signature sound means figuring out processing moves that feel like you. Sure, flexibility matters, but having a few go-to approaches can help listeners recognize your style across tracks.

4. Sound Design and Synthesis Explained
If you want to stand out in modern music production, you’ve got to know how to create and shape your own sounds. Synthesis lets you build a sonic identity, and good sound design can really elevate a track.
Synthesizer Types and Architecture
Synths come in a few main flavors, each with its own way of generating sound.
Subtractive synthesis starts with a rich waveform (think saw, square, triangle) and carves away frequencies using filters.
Additive synthesis is about stacking sine waves at different frequencies to build up a sound. FM (frequency modulation) gets a bit wild—one oscillator modulates another, creating all sorts of complex timbres.
Most synths share similar building blocks:
- Oscillators: These generate the raw waveforms
- Filters: They sculpt the tone by removing specific frequencies
- Envelopes: These shape how a sound changes over time (attack, decay, sustain, release)
- LFOs: Modulate parameters for rhythmic or evolving effects
With virtual instruments, synthesis is more accessible than ever. Software versions of classic gear offer unprecedented flexibility and options that hardware could only dream of.
Plugging a MIDI keyboard into your DAW makes these instruments feel more hands-on, letting you play and tweak sounds expressively as you record.

Creating Custom Drum Sounds
Making your own drum sounds gives your music a unique edge—something you won’t get from stock sample packs.
For kicks, start with a sine wave and pitch envelope, then add a touch of distortion or layer in some noise for grit. Snares? Try mixing white noise with a triangle wave or other tonal bits for character.
Hi-hats and cymbals usually come from high-passed noise, but the magic’s in how you set the envelope for the right decay and snap.
A few tricks that help with percussion sound design:
- Targeted EQ and compression for specific frequencies
- Transient shaping to dial in the attack
- Room simulation with reverb or delay for space
Many producers maintain their own custom drum sound libraries, built from scratch. These personal touches help your tracks stand out from the crowd—especially compared to productions that lean too hard on the same old loops or presets.
Effective Sound Layering Techniques
Layering’s about combining different sounds to make something richer and more interesting than any single sound could be on its own.
If you’re working on a lead, try blending a bright, sharp synth with a warmer pad underneath. You get depth, but the lead still cuts through.
For bass, stack a sub-heavy layer with midrange harmonics. That way, the bass is felt and heard clearly throughout the mix.
Watch out for phase issues when layering—sometimes sounds cancel each other out and things get weird.
Some layering moves that work well:
- Frequency splitting: Give each layer its own frequency space
- Dynamic splitting: Use one sound for the attack, another for the sustain
- Stereo field assignment: Pan layers differently for width
Every layer should actually do something—just piling on more sounds muddies things up fast. Focused layering is what makes a busy mix sound polished, not crowded.
Using Sampling and Sample Libraries
Sampling is just grabbing and reworking existing sounds—could be anything, really. The possibilities are endless.
These days, producers have massive sample libraries at their fingertips, from full orchestras to the weirdest field recordings you can imagine.
When you’re working with samples, try out these ideas:
- Change playback speed or direction for new textures
- Break samples into tiny bits with granular processing
- Chop up and rearrange rhythms using transient detection
Sample libraries can get you pro-level sounds fast, especially for stuff that’s tough to synthesize. Still, it’s worth putting your own spin on things—otherwise, you risk sounding like everyone else using the same packs.
Loops are great building blocks, but the best producers twist, chop, and process them until they’re barely recognizable. That’s how you make them truly yours.

5. Mixing Techniques for Professional Sound
Getting a professional sound means nailing some key techniques that give your mix clarity, depth, and balance. These basics are what separate a polished track from the rest.
EQ and Frequency Management Essentials
Good EQ work is at the heart of professional mixing. Start with corrective EQ to cut out problem frequencies, then use additive EQ to bring out the good stuff.
The high-pass filter is your friend for cleaning up low-end rumble—use it on most tracks except for your bass and kick. Vocals? High-pass around 80-100Hz. Guitars? Maybe below 60-80Hz, depending on the context.
Mid-range (250Hz-2kHz) is where things get muddy fast if you’re not careful. Minor, targeted cuts here can open up the mix and make everything pop.
If you want pro results, avoid boosting wide frequency ranges. Go for narrow boosts (1-2dB) to highlight details, and use wider, deeper cuts (3-4dB) when you need to fix issues. That way, things stay natural but clear.
Key EQ Strategies:
- Cut first, boost second
- Don’t be afraid of high-pass filters
- Listen for instruments masking each other
- Solo tracks briefly for precision, but always decide with the whole mix playing

Dynamic Processing with Compression
Compression shapes dynamic range and gives your mix some real personality. Different settings? They do different jobs in professional audio mixing, and honestly, you’ll feel the difference.
When working with vocals, consider a moderate ratio—around 3:1 to 4:1. Set your threshold to capture those peaks and smooth out the performance. Fast attack (1-10ms) tames the transients, and your release (50-300ms) should groove with the song’s tempo. You’ll know when it feels right.
Bass often comes alive with parallel compression. Blend a squashed signal with the dry one—this keeps the punch up front while locking in a steady level. It’s a bit of a cheat code.
Drums? They’re a different beast. Overheads like it gentle for glue, but close mics can handle heavier compression for that punch and control. You’ll want to experiment here.
Compression Parameters Guide:
| Element | Typical Ratio | Attack | Release | Notes |
|---|---|---|---|---|
| Vocals | 3:1 – 4:1 | 5-10ms | 50-150ms | Aim for consistent level |
| Bass | 4:1 – 8:1 | 10-40ms | 80-200ms | Maintain sustain |
| Drums | 4:1 – 10:1 | 1-30ms | 50-250ms | Varies by drum type |
| Mix Bus | 1.5:1 – 2:1 | 30ms+ | Auto/Program | Gentle glue compression |

Creating Depth with Reverb and Delay
Reverb and delay give your mixes that sense of space and dimension—honestly, that’s what makes pro tracks stand out. Instead of slapping on a single reverb, pros carve out different zones of space for each element.
Want depth? Use short reverb times (0.8-1.2s) for things you want up close, and longer ones (2s+) for stuff you want tucked in the back. Pre-delay (20-80ms) keeps things clear, but you’ll have to tweak it to taste.
Sometimes, delay works better than reverb for keeping things crisp. Try quarter-note, eighth-note, or dotted eighth delays synced to the tempo—they add rhythm without muddying everything up.
For sanity (and CPU) sake, set up a couple of reverb sends—each with its own vibe:
- Short room/plate (0.8-1.2s) for drums and percussion
- Medium hall/chamber (1.5-2.5s) for vocals and melodic stuff
- Long ambient space (3s+) for special FX and transitions
Always slap a high-pass filter on your reverb returns around 200-300Hz. If you don’t, low-end gunk will creep in and make your mix sound like a swamp.

Stereo Imaging and Mix Placement
Pro mixes really stretch out the stereo image—not just for width, but for clarity. You can fit a ton of stuff in a mix if you place things with intention.
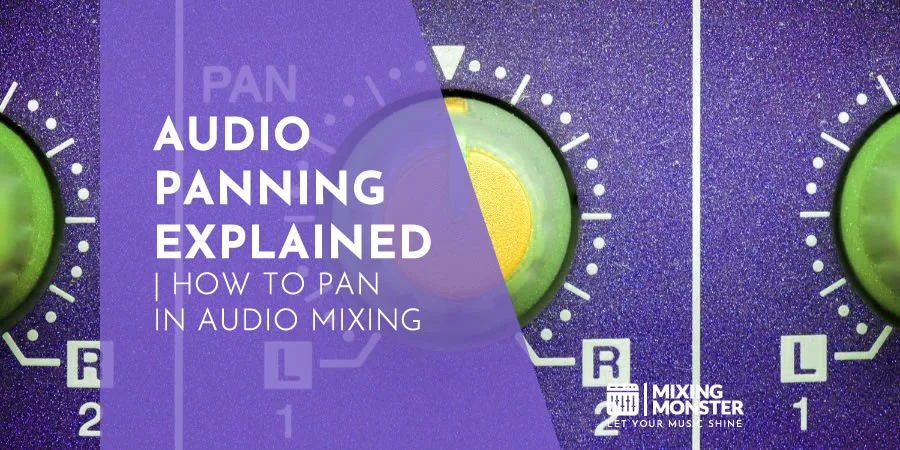
Keep the low end—kick, bass, subs—smack in the center. That’s your anchor. Mid-range elements? Pan them around for a nice spread.
Doubling is a classic trick for width. Record the same part twice, pan each left and right, and you’ll get a natural, wide sound. Or, nudge the pitch or timing just a hair between channels for even more width.
- Low-frequency elements (below 150Hz): centered
- Drums: slight to moderate panning (hi-hats 30-50%, overheads wide)
- Guitars/keyboards: moderate to wide panning (40-80%)
- Backing vocals: widely panned, lead stays in the middle
- Effects: pan ’em out wide if you want drama
Don’t forget about mono. Check your mix in mono every so often. If something vital vanishes, you’ll want to fix that before release.
6. Mastering Your Tracks for Release
Mastering is that last crucial step before your track goes public. It’s where you take a finished mix and polish it until it’s ready for the world—making sure it sounds solid everywhere, not just in your studio.
Preparing Your Mix for Mastering
Leave yourself some headroom—peaks around -6dB to -3dB is the sweet spot. Remove any sub-bass rumble below 30Hz and check for unusual resonances that could cause issues later.
Export your mix in the highest quality possible: 24-bit WAV, sticking to your project’s sample rate (44.1kHz or above is best). Don’t normalize on export—it just ties the mastering engineer’s hands.
It’s smart to gather a folder of commercial tracks that nail the sound you want. Use these as references for tonal balance, punch, and width.
Before you call it done, check your mix on a few different speakers—what sounds perfect in your studio might turn messy on a phone or car stereo.
Essential Mastering Chain Setup
A typical mastering chain looks something like this:
- EQ – Subtle tweaks only (keep it within ±2dB)
- Compression – Gentle glue compression, 1.5:1 to 2:1 ratio
- Stereo enhancement – Widen carefully, avoid phase issues
- Multiband compression – Tame specific problem areas in the frequency spectrum
- Limiting – Push for commercial loudness
Start with EQ to clean up any frequency messes. Go for surgical cuts—don’t get heavy-handed with boosts. Most of the time, mastering is about small nudges, not big swings.
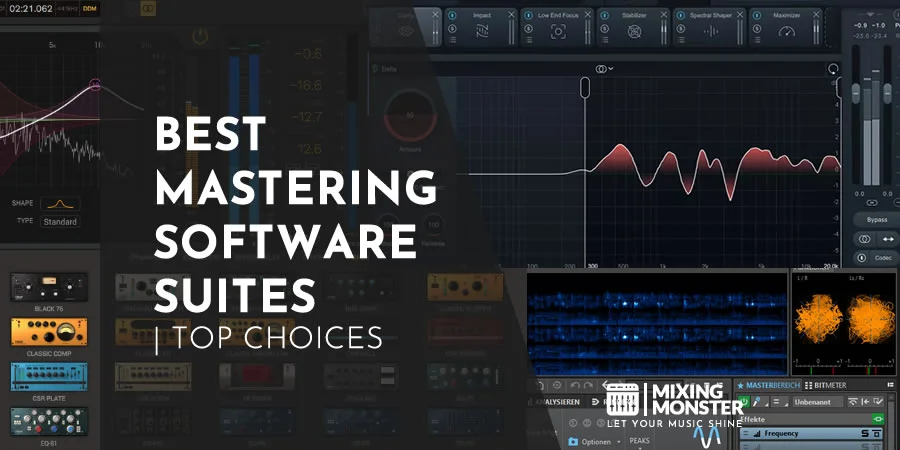
If you’re starting, digital tools like iZotope Ozone can handle everything in one place. More experienced folks might reach for specific analog or digital gear for each step.
Loudness Standards for Different Platforms
Knowing the loudness targets for each platform is pretty much a must these days:
| Platform | Integrated LUFS | True Peak Maximum |
|---|---|---|
| Spotify | -14 LUFS | -1.0 dB TP |
| Apple Music | -16 LUFS | -1.0 dB TP |
| YouTube | -14 LUFS | -1.0 dB TP |
| CD | No standard (often -9 to -12 LUFS) | -0.3 dB TP |
Seriously, keep dynamic range in mind before chasing maximum volume. Streaming services will turn down tracks that are too loud, which can result in weird artifacts.
Sometimes you’ll want different masters for different formats. Vinyl, for example, needs special treatment for bass and stereo width. Club tracks? Go louder, with more low-end punch. It’s all about the context.
DIY vs. Professional Mastering Services
Learning to master your own tracks gives you valuable skills and keeps you in the driver’s seat creatively, but there’s something to be said for professional mastering.
Pros bring fresh ears, specialized gear, and, let’s face it, years of hard-earned experience. For those big releases, hiring a professional mastering engineer can really elevate your sound.
You’ll find budget options starting around $20-50 per track if you’re working with newer engineers, and established pros can charge $100-300+ per song. For most, the investment pays off in better sound and a fighting chance in a crowded market.
If you’re set on self-mastering, give your ears a break before diving in. You should check out comprehensive mastering courses so you’re building fundamental skills, not just clicking through presets.
Some folks split the difference: do a rough master yourself, then hand it off to a pro for the final polish. It’s a good way to blend your vision with expert finishing touches—and maybe save a few bucks.

7. Music Production Workflow Optimization
Dialing in your music production workflow can make a massive difference in how much music you actually finish. When your process runs smoothly, you spend less time wrestling with tech and more time chasing ideas.
Developing Efficient Project Templates
Setting up solid project templates can significantly accelerate your project’s start. Try building a default template with your go-to tracks, routing, and effect chains ready to roll.
Set up buses for drums, vocals, and instruments with your basic processing chains already loaded. That way, you skip the boring setup every time inspiration hits.
Pre-configure your monitoring and recording settings to fit how you actually work. Many producers swear by color-coding tracks—it really helps keep things organized when your sessions get messy.
Set up default automation lanes for frequently tweaked items, and use a naming system that makes sense to you. When you revisit old projects, you’ll be glad you did.
Organizing Sample Libraries and Presets
A tidy sample library is a goldmine when you’re looking for inspiration. Try sorting samples by instrument, genre, or vibe (think bright, dark, aggressive) instead of just the pack name.
Build up custom presets for your favorite plugins—you’ll end up with a personal sound palette that can kickstart ideas when you’re stuck.
Sample management software makes tagging and searching way easier. Many producers claim that practicing sound design solely for creating presets can significantly enhance both your workflow and creativity.
Keep your preset names consistent and descriptive—future you will thank you when you’re digging through old sounds for that perfect patch.
Creative Block-Breaking Techniques
When you hit a wall, having a few go-to tricks can help. Try the “sketches first” method—rough out ideas before you get too precious. It keeps things moving.
Set a timer for yourself—25-minute sprints with breaks can do wonders for productivity and help you avoid getting bogged down in details.
If you’re stuck, switch gears. Jump from arranging to sound design or mixing. That mental shift can spark new ideas out of nowhere.
Or try limiting yourself: only three plugins, or a track finished in a single day. Sometimes, those boundaries actually push you to get creative in ways you wouldn’t expect.
Establishing Productive Studio Habits
Showing up regularly—even for short sessions—beats the occasional all-nighter every time. Block out studio time on your calendar and treat it like any other commitment.
Build a little pre-session ritual to get your brain in gear. Maybe it’s setting up your studio, spinning a favorite reference track, or just a quick meditation—whatever works for you.
Practicing specific production techniques in focused learning sessions—separate from your main projects—can really speed up your progress. Try recreating tracks you love or designing sounds from scratch just for the fun of it.
Jot down what you learn in a production journal. It’s nerdy, but over time, it’ll become a treasure trove of your own best tips and discoveries.
8. Building Your Production Style and Brand
Carving out your own sound and building a recognizable brand is non-negotiable these days. The right vibe and image help you cut through the noise and attract the right listeners and collaborators.
Finding Your Unique Sound Signature
Your signature style comes from a mix of experimentation and a bit of soul-searching. Analyze the producers you love, but don’t just mimic them—figure out which elements actually hit home for you.
Mess around with different processing chains, dig for samples nobody else uses, or try weird instrument combos. Think about how Metro Boomin’s 808s or Timbaland’s wild rhythms set them apart.
A few ways to hone your own sound:
- Stick to a handful of tools or instruments for a while
- Build custom sample packs just for yourself
- Lock in mixing techniques that people start to recognize as “your sound”
- Try out-of-the-box recording methods
Your style should be an honest reflection of your musical perspective. And yeah, knowing your audience and what makes you different is a big part of that.
Collaboration Strategies for Growth
Teaming up with other creatives can jumpstart your growth. Working with vocalists, different producers, or instrumentalists exposes you to new techniques and expands your professional network.
Look for collaborators whose styles mesh with yours. Local scenes, online groups, and music schools are all good places to connect. Tools like Discord, Splice, and producer forums make remote collabs painless these days.
When you reach out to someone:
- Have some finished work to show off
- Be upfront about what you bring to the table
- Start small before jumping into big projects
- Sort out credits and royalties from the start
Industry events and meetups can open doors you didn’t even know existed. Many producers owe their breakthroughs to forming groups or collaborating with MCs who later gained fame.
Distributing and Promoting Your Music
Getting your music out there takes some strategy. Pick distribution services that fit your needs—DistroKid, TuneCore, and CD Baby all have their own perks and price points.
Stay active on the platforms your audience actually uses. Instagram and TikTok are great for visuals, while SoundCloud and YouTube are still prime spots for getting discovered.
A few ways to get your name out there:
- Drop beat tapes or producer compilations
- Network with playlist curators
- Join producer challenges and competitions
- Share educational content about your process
Building your brand as an emerging artist means keeping your look and feel consistent everywhere. Think matching profile pics, color schemes, and a logo that actually fits your sound.
Copyright Protection for Producers
In today’s digital music world, protecting your intellectual property really matters. Register your work with your country’s copyright office—yeah, it’s a bit of paperwork, but it’s the strongest legal shield you can get. I
n the US, you’ll go through the Copyright Office, and other countries have their own equivalents.
Here are some copyright basics every producer should know:
- Sound recording copyright: Covers the specific recording itself
- Composition copyright: Protects the song’s structure and arrangement
- Sample clearance: You’ll need this if you use someone else’s recording
- Split sheets: These show who owns what percentage
Implement technical barriers, such as audio watermarking and robust metadata. Whenever you collaborate, even if it’s just with a buddy, get a contract. It seems overkill until it isn’t—trust me, you’ll thank yourself later.
If you’re selling beats online, spell out your license terms. Make it super clear whether you’re offering exclusive rights (one buyer only) or non-exclusive (multiple buyers, usually cheaper).
Creating high-quality content that showcases your unique style and skills is still the backbone of your brand as a producer.
9. Key Takeaways for Music Production Beginners
Start with the essentials. You don’t need to drop thousands on gear to get started. A basic DAW, some headphones, and a halfway decent computer can take you surprisingly far while you’re learning the ropes.
Learn your DAW inside out. Your DAW is your primary tool. Explore its features and learn how to navigate it before attempting to master all the fancy tricks.
Study songs you enjoy. Take apart tracks you love. It’s one of the best ways to train your ear and pick up production moves. Listen for patterns in intensity, energy, and structure—it’ll help your own music, no question.
Master these fundamental skills:
- Basic music theory (scales, chords, rhythm)
- Recording techniques
- Arrangement principles
- Mixing fundamentals
- Simple mastering concepts
Practice regularly. Consistency beats marathon sessions. Even half an hour a day adds up way faster than you’d think.
Join a community. Find other producers online or in your area. Trading ideas and feedback keeps you motivated—and honestly, music production can feel a bit lonely if you’re always solo.
Finish projects. Get your tracks done, even if you’re not totally happy with them. Finishing music teaches you more than starting a bunch of half-baked ideas ever will.
Develop your ear. Try to pick out frequencies, effects, and instruments. If you want to mix well, you’ve gotta get good at listening—no shortcuts there.
Be patient with the learning curve. Music production is a weird mix of technical and creative. It takes time, so focus on getting better, not being perfect.
Happy producing!

FAQ
1) What software do professionals use for music production?
Most pros stick with Digital Audio Workstations (DAWs) like Ableton Live, Logic Pro, FL Studio, Pro Tools, or Cubase. Each one has its quirks, so it’s really about what fits your style and workflow.
These DAWs come loaded with tools for recording, editing, mixing, and mastering. On top of that, producers pile on plugins for effects processing, virtual instruments, and sound design.
Honestly, the “best” DAW is the one you like using. Some folks even bounce between multiple DAWs to get the best of each for different parts of their projects.
2) How can one start a career in music production, and what job opportunities are available?
Most people start by building a portfolio—make your own tracks, work with local artists, and keep sharpening your technical skills. Networking matters a lot, both online and in person.
Career paths include music producer, mixing engineer, mastering engineer, sound designer, and studio technician. You’ll also find gigs in gaming and film for music and sound design.
A lot of gigs come from connections, so put your work out there. Platforms like SoundCloud, Bandcamp, and YouTube help you get noticed by potential clients or collaborators.
3) What are the best courses for learning music production skills?
You’ll find solid production courses at places like Berklee College of Music, Point Blank Music School, and Abbey Road Institute. Their classes are structured and delve into both the creative and technical aspects.
If you want something more flexible, Pyramind offers mentored programs with working pros like Jaytech answering real-world questions. You’ll usually get feedback on your projects, which is enormous.
Don’t sleep on free or budget options: YouTube is packed with tutorials, and there are Coursera courses or Masterclass lessons from big-name producers, too.
4) Which apps are recommended for music production on mobile devices?
GarageBand (iOS) is the easiest way to dive into mobile music production. It’s user-friendly but still has pro-level sounds and effects. If you want more features, FL Studio Mobile and Cubasis are solid choices for iOS and Android.
BandLab and Caustic are free and surprisingly powerful for making beats and arranging tracks. They even work with MIDI controllers and audio interfaces, so you’re not stuck tapping on a screen.
Honestly, mobile apps these days let you do real production—sampling, synths, arranging—without needing a laptop at all. Kinda wild, right?
5) Are there reputable platforms offering music production training online?
You’ve got plenty of legit options when it comes to online music production training. Sites like Composer Class offer structured lessons on common production topics.
Udemy, LinkedIn Learning, and SkillShare all have courses taught by real industry pros. Many of them give you a certificate when you finish, covering everything from basics to advanced tricks.
There are also producer-led places like Andrew Huang’s “Monthly” or ill—methodology, which focus on specific genres or creative approaches. You’ll get direct feedback from artists who’ve been there and done that.
6) How can beginners approach music production without incurring high costs?
You really don’t need to spend a fortune to get started. Grab a free DAW like Cakewalk by BandLab, GarageBand (if you’re on a Mac), or LMMS. These cover the basics—recording, arranging, mixing—without asking for a dime.
There’s a surprising amount of free plugins and sample packs floating around online. Spitfire Audio, Native Instruments, and iZotope, for example, all throw in some pretty solid instruments and effects at no cost.
And if you’re ever stuck or curious about gear that won’t break the bank, communities like Reddit’s music production forum are always buzzing with advice and tips from folks who’ve been there.

